[ad_1]
Most of us have gotten rather used to our homes over the past year. And most photographers, including me, have had a harder time finding interesting subjects and inspiration as a result. But one of the best things about macro photography is that you can do it anywhere, including indoors, with a bit of creativity. This article compiles some of my favorite DIY-type ideas for macro photography at home – try them out yourself!
I’ll mention before we start that I’m not the first photographer to think of most of these ideas, and I wouldn’t be surprised if you’ve seen some of them before. But that doesn’t make it any less fun to put your own spin on this type of photography.
Homemade Backdrop
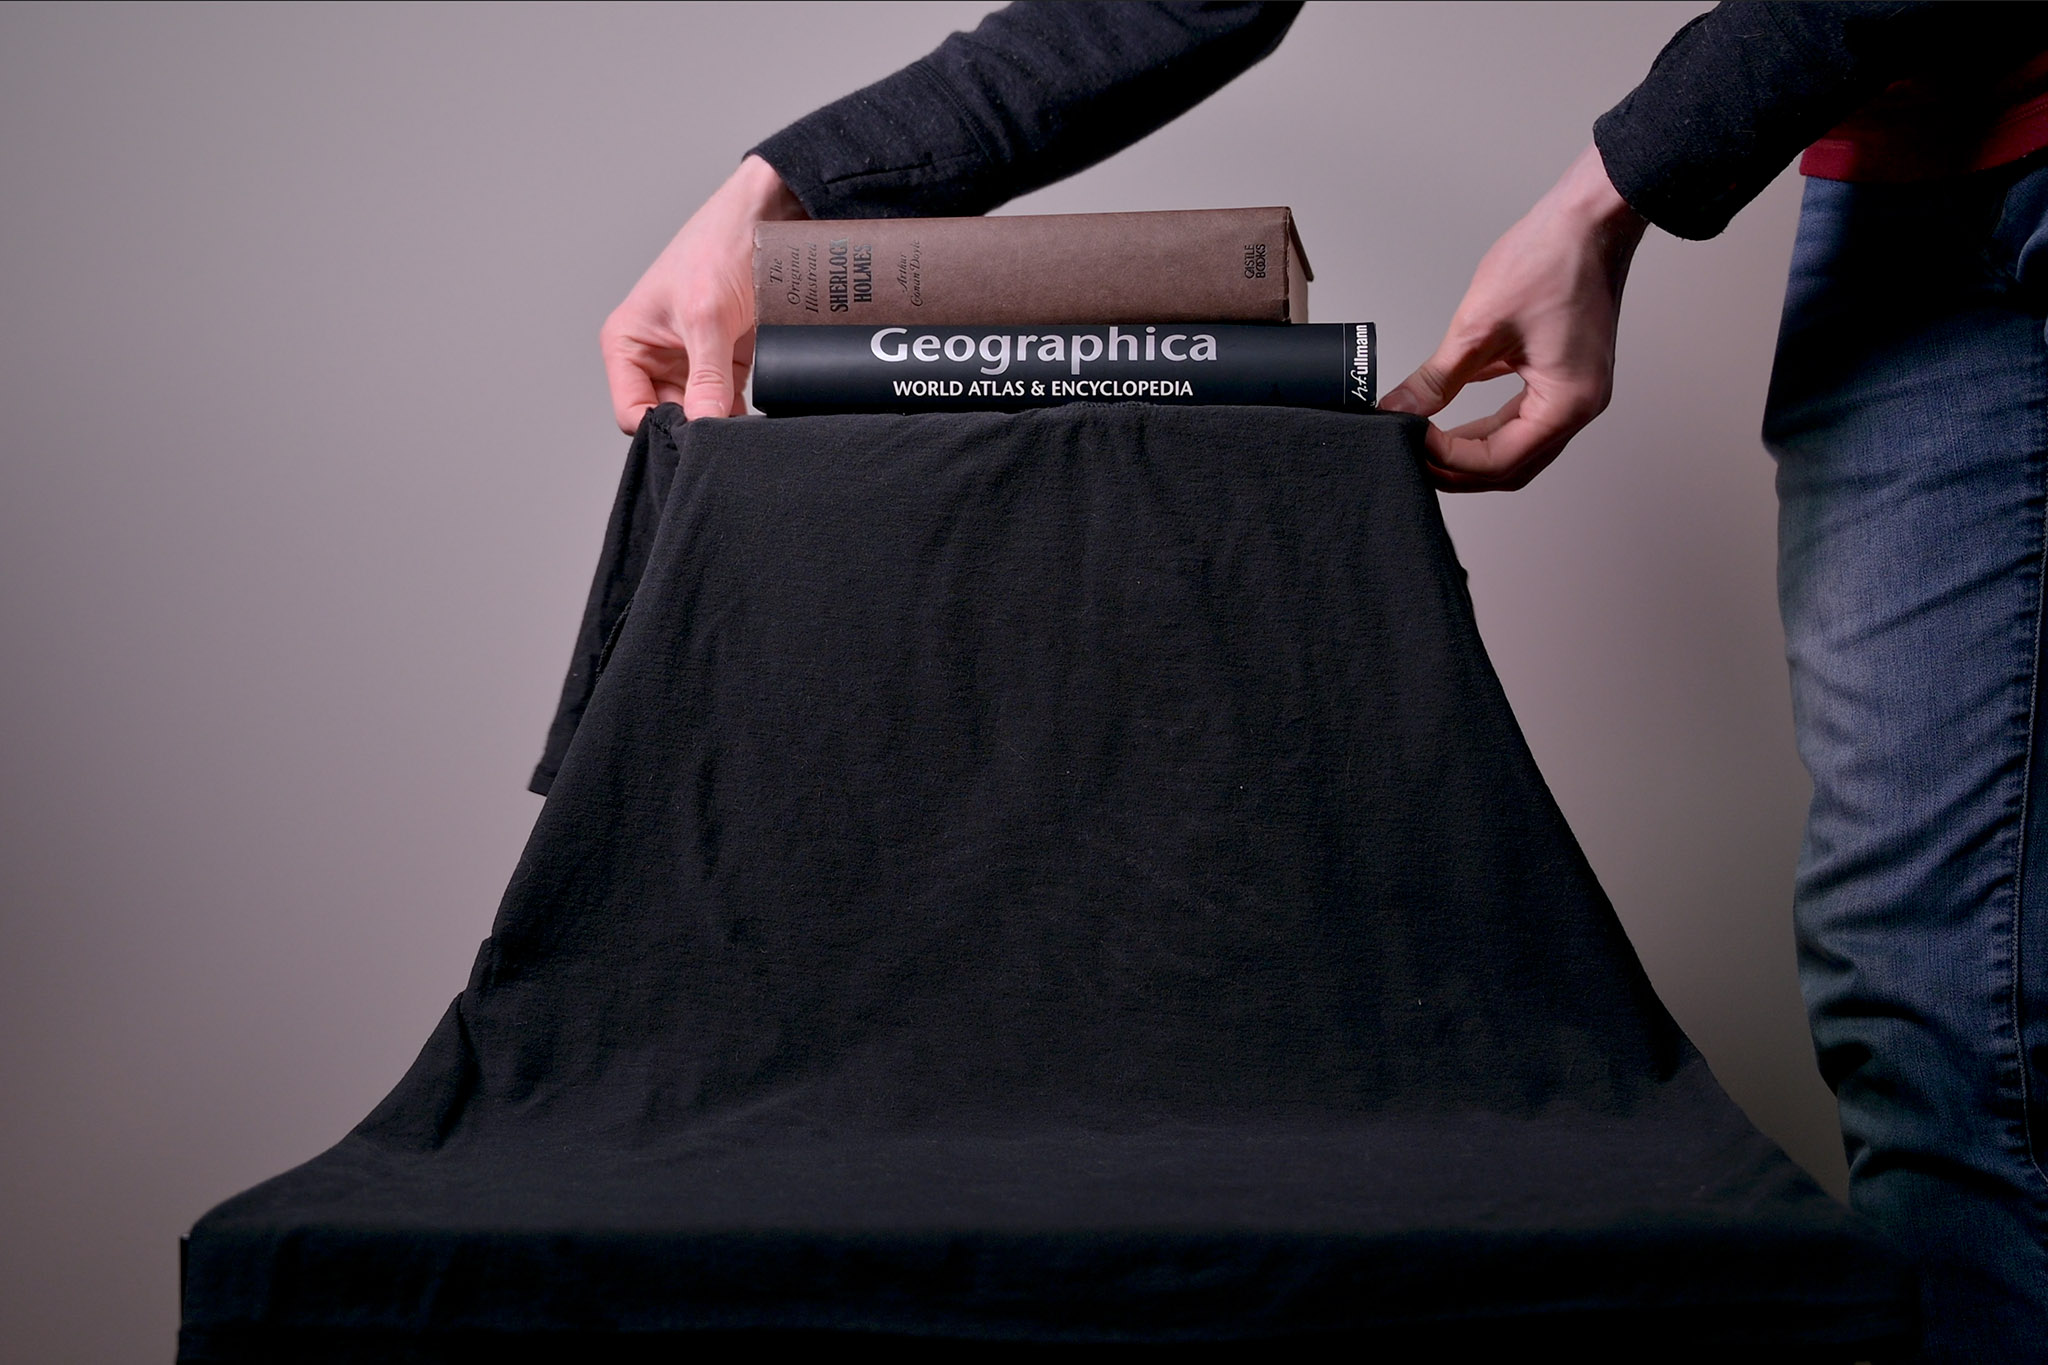
Step one is to figure out a good backdrop so you can shoot these photos more easily.
If you’re a portrait photographer, maybe you already have some nice backdrops of different colors that you can co-opt for these macro photos. If not, don’t worry. You can make a backdrop suited for macro photography simply by draping a shirt, tablecloth, or sheet over a cardboard box.
I did that here with a black t-shirt. It’s not a fancy backdrop, but for macro photos, it’ll be so far out of focus – if it’s visible at all – that you don’t need anything more than this:
Macro Ideas
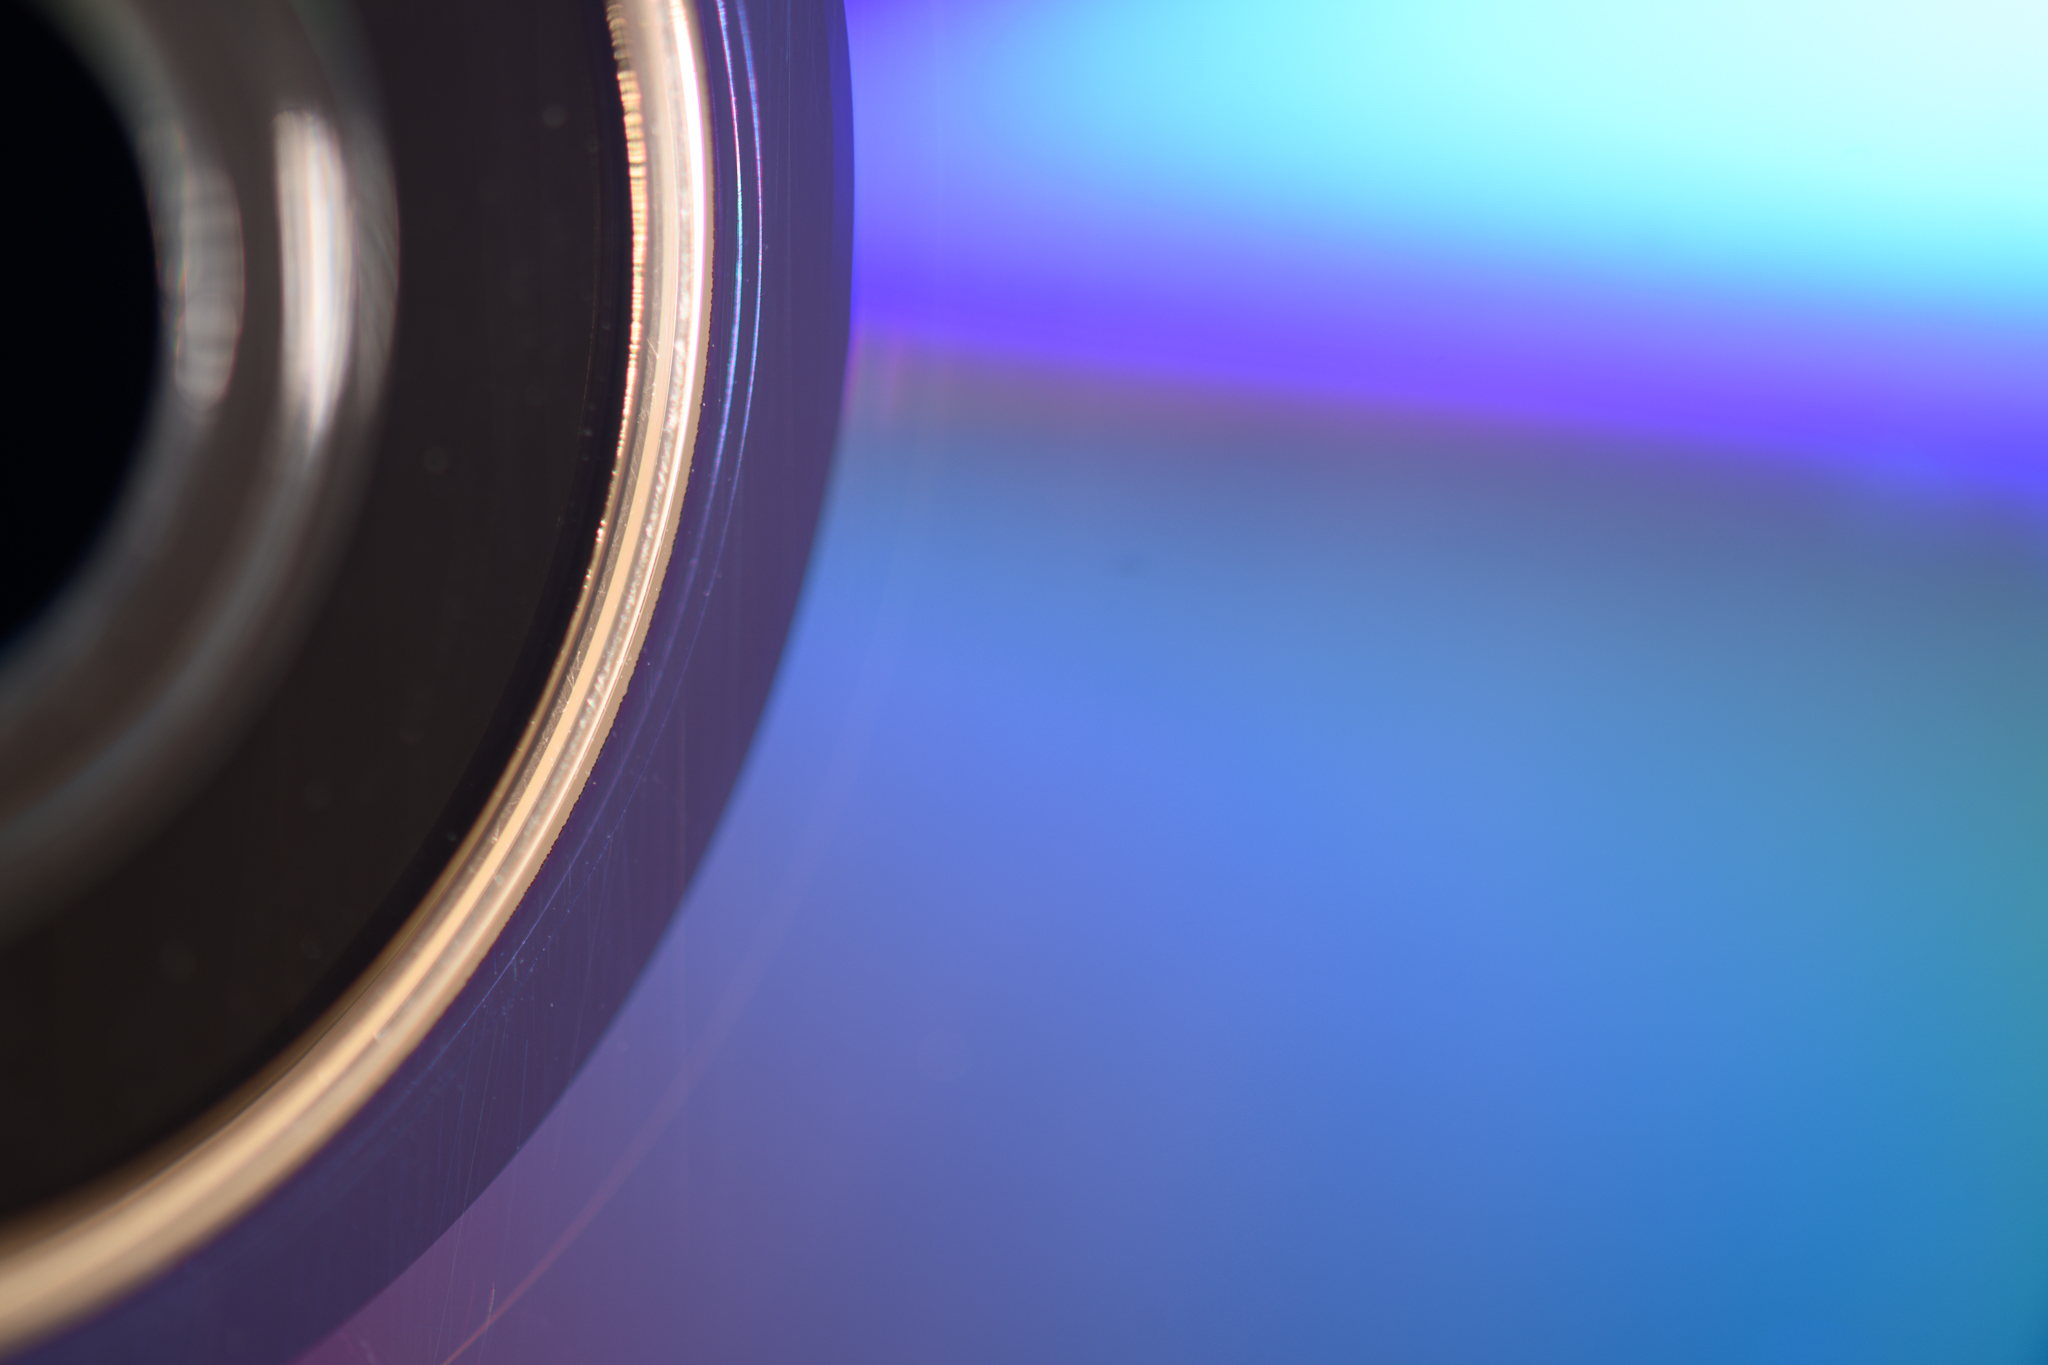
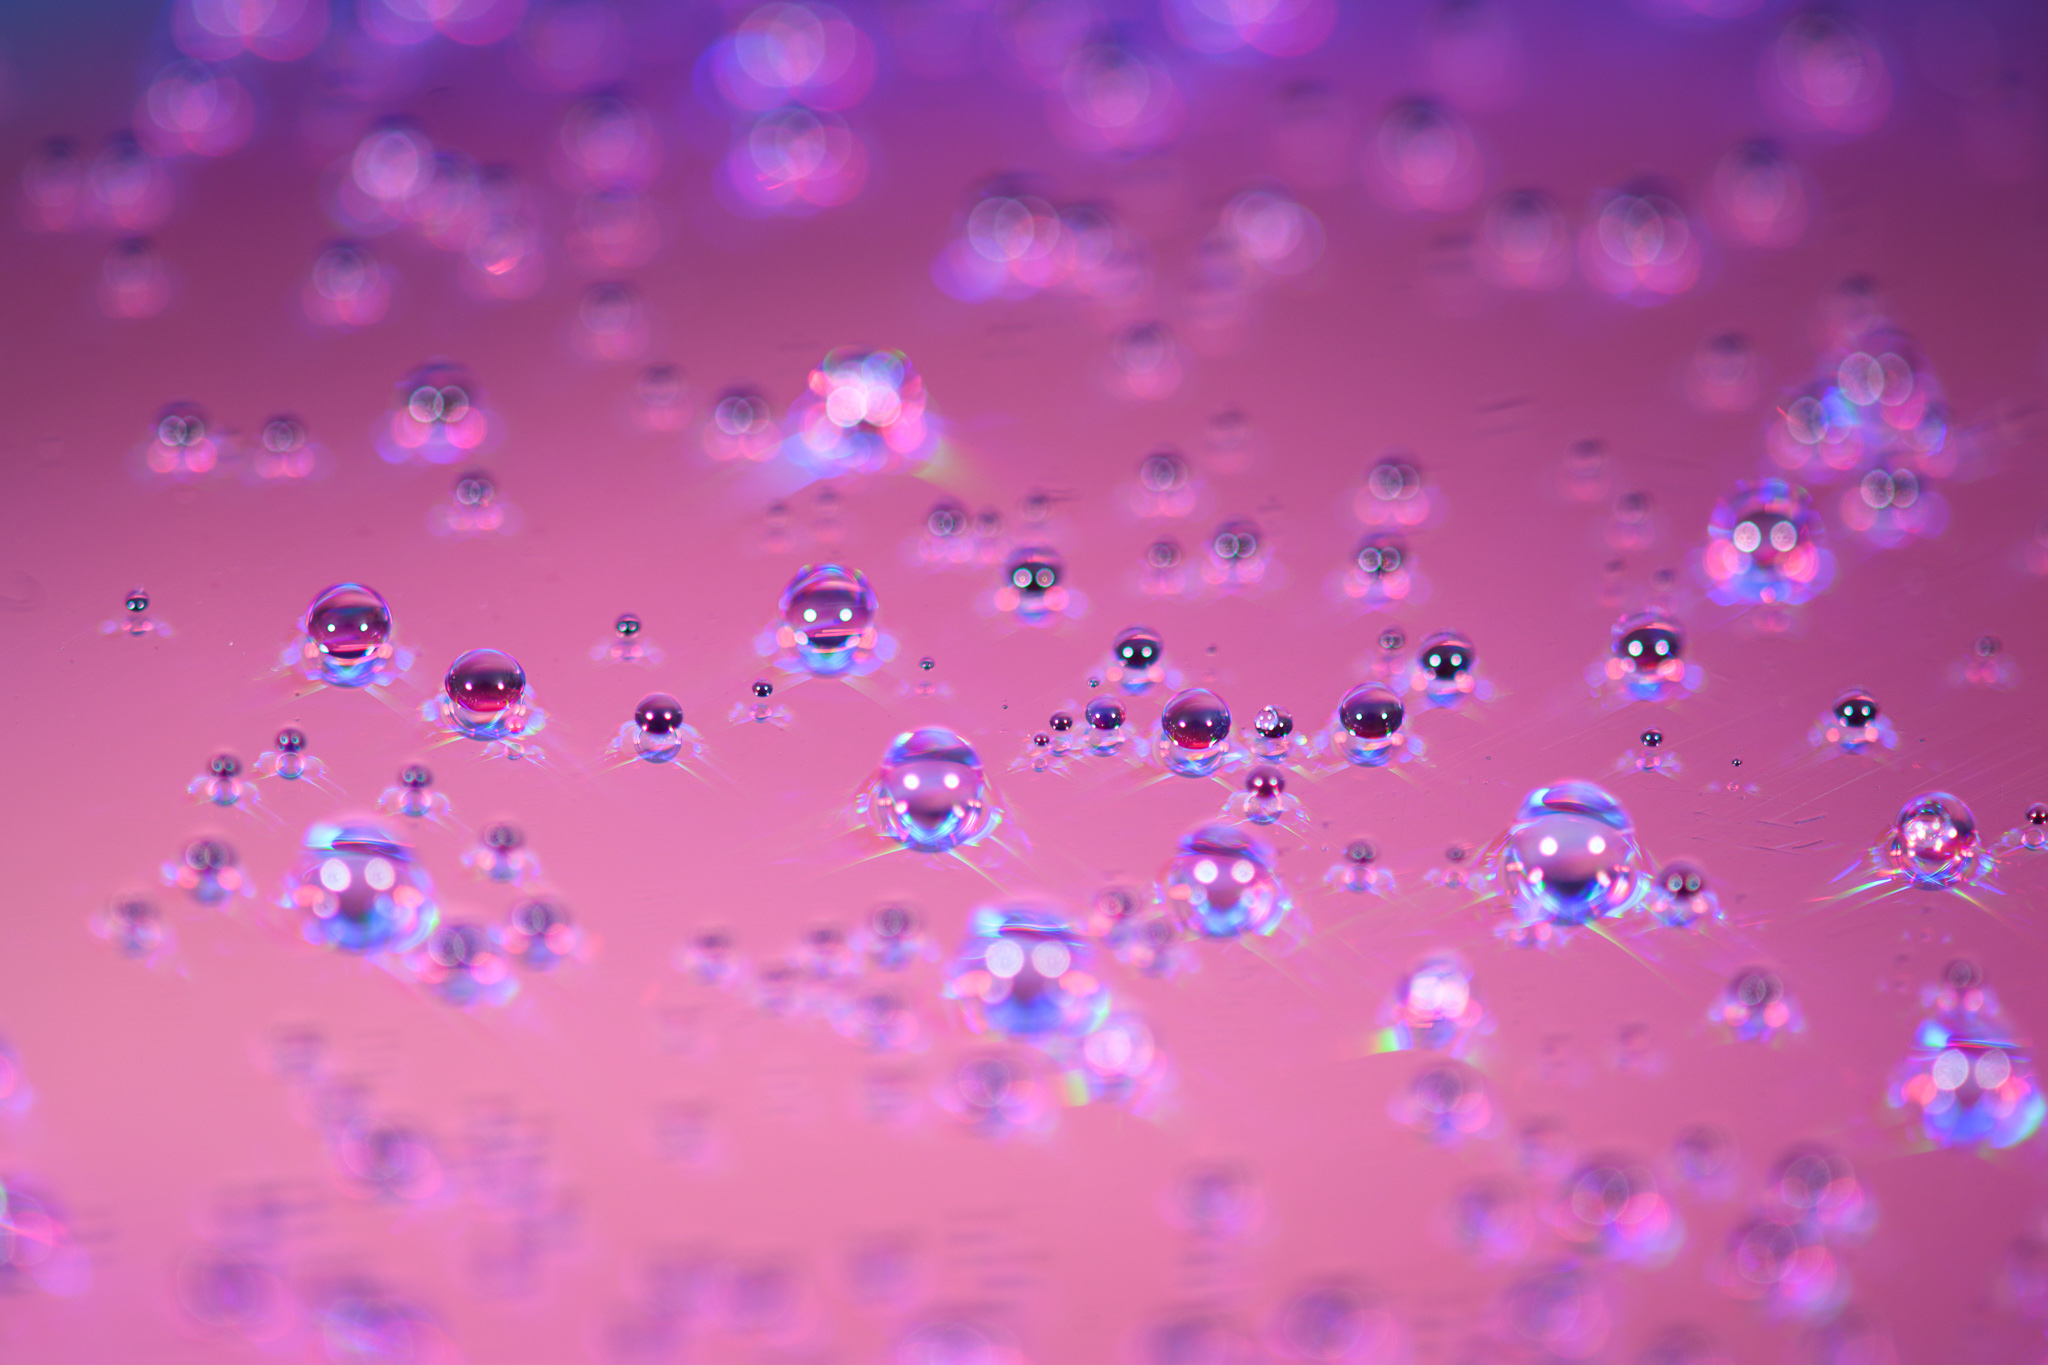
1. CD and Water Droplets
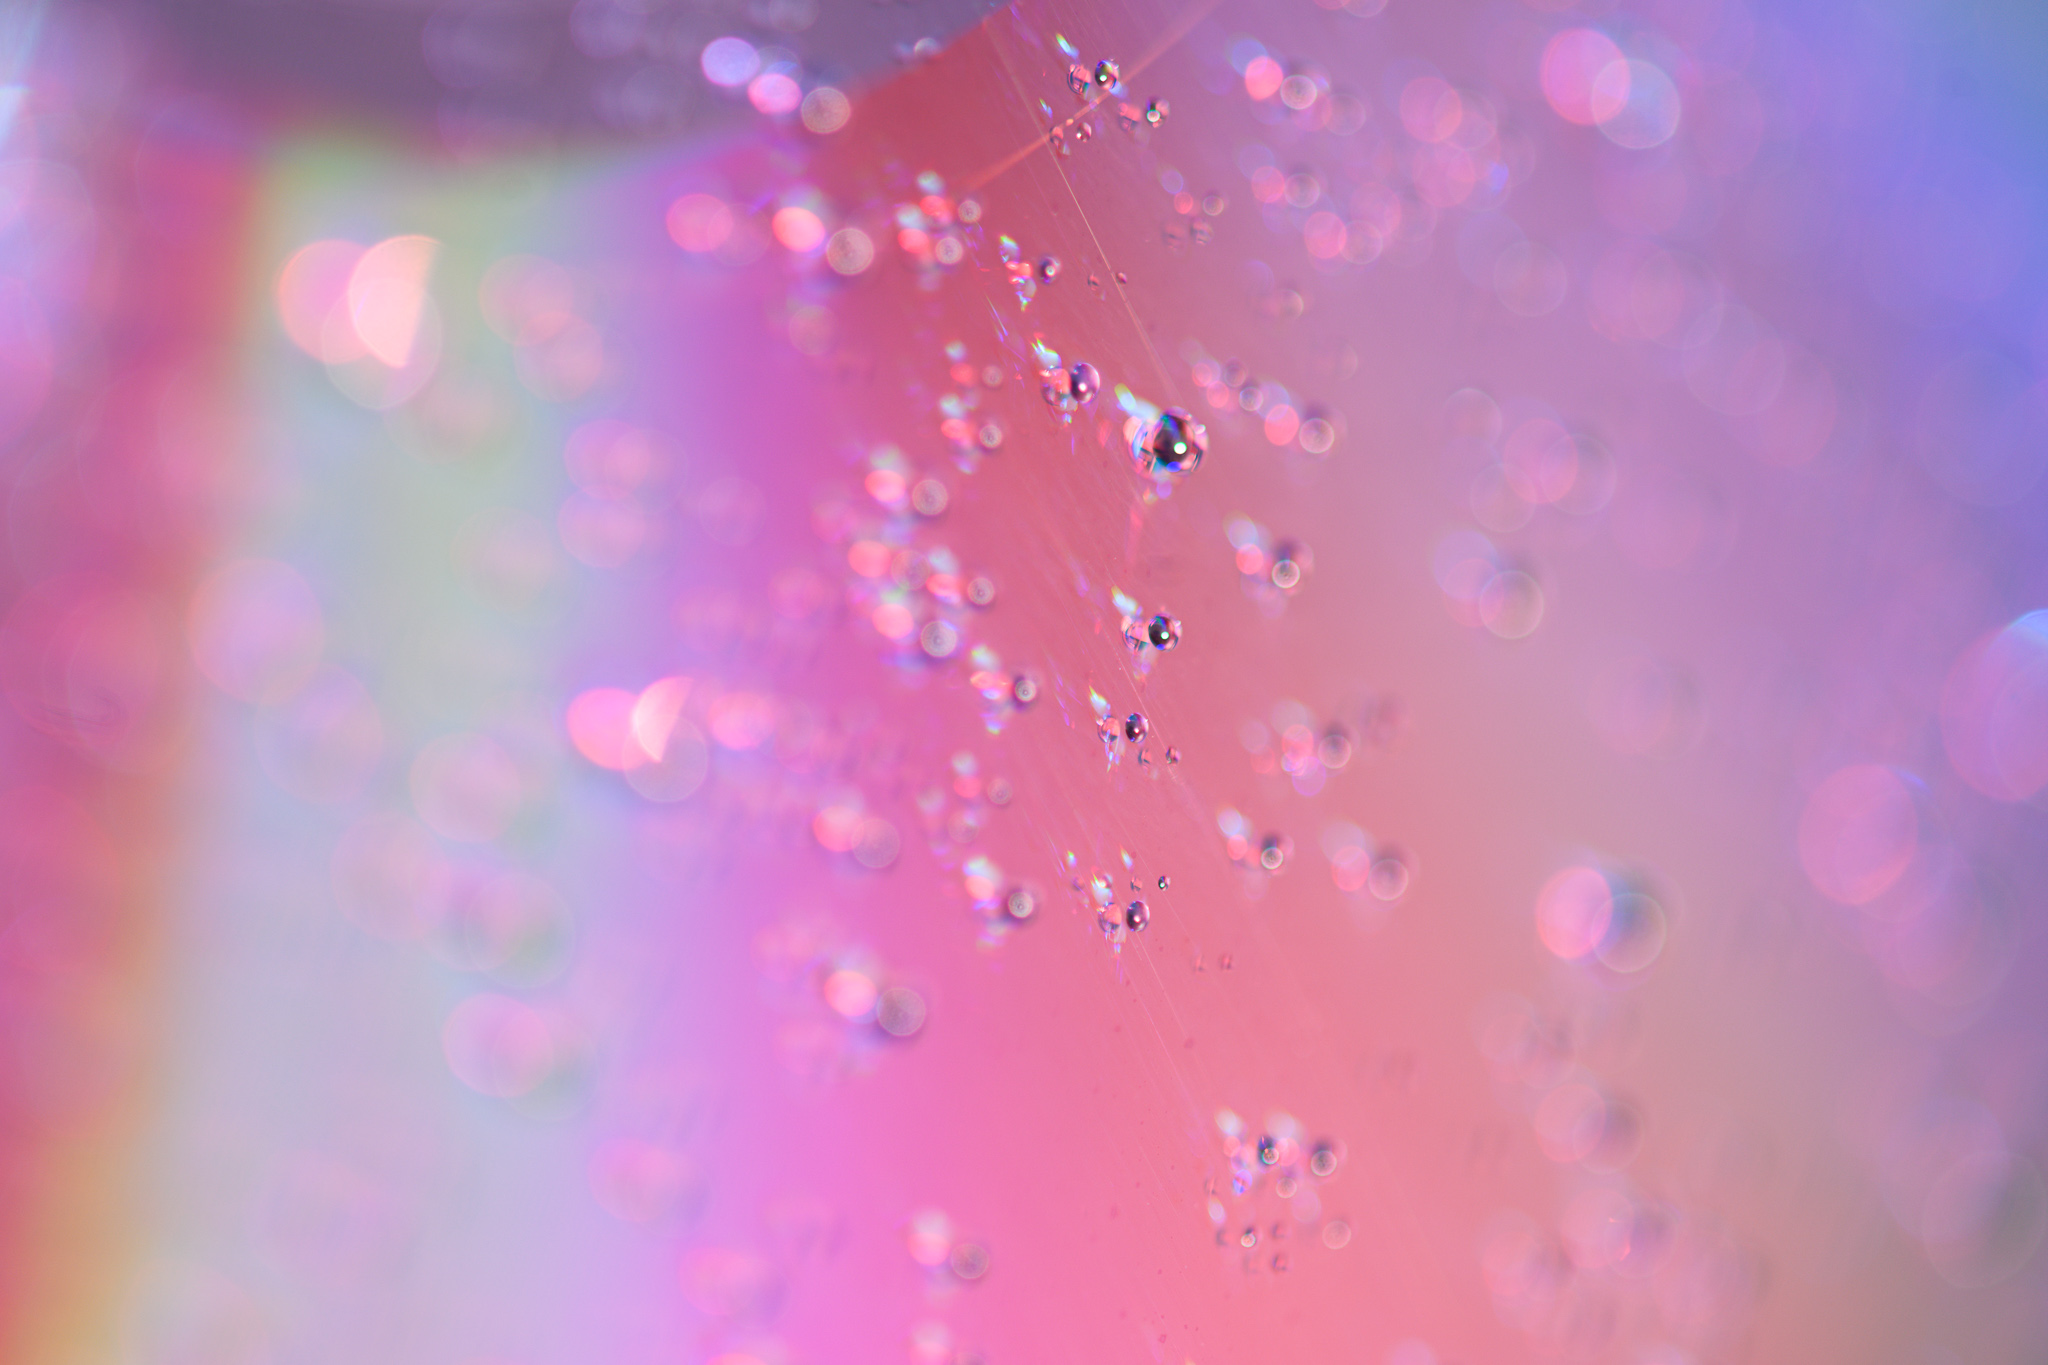
One of the classic subjects for this type of “homemade” macro photography is a CD. You might need to search through some cabinets, but I think most photographers have some old CDs lying around somewhere. If possible, try to use one that doesn’t have too many scratches.
If you tilt the CD relative to your light source, you’ll end up with interesting patterns of color like this:
To add even more interest, you can spray the CD with water droplets and play around with depth of field. Try propping up the CD and shooting from a tripod so you can use longer exposures and capture higher quality images.
The results are fun, abstract, and easy to capture:

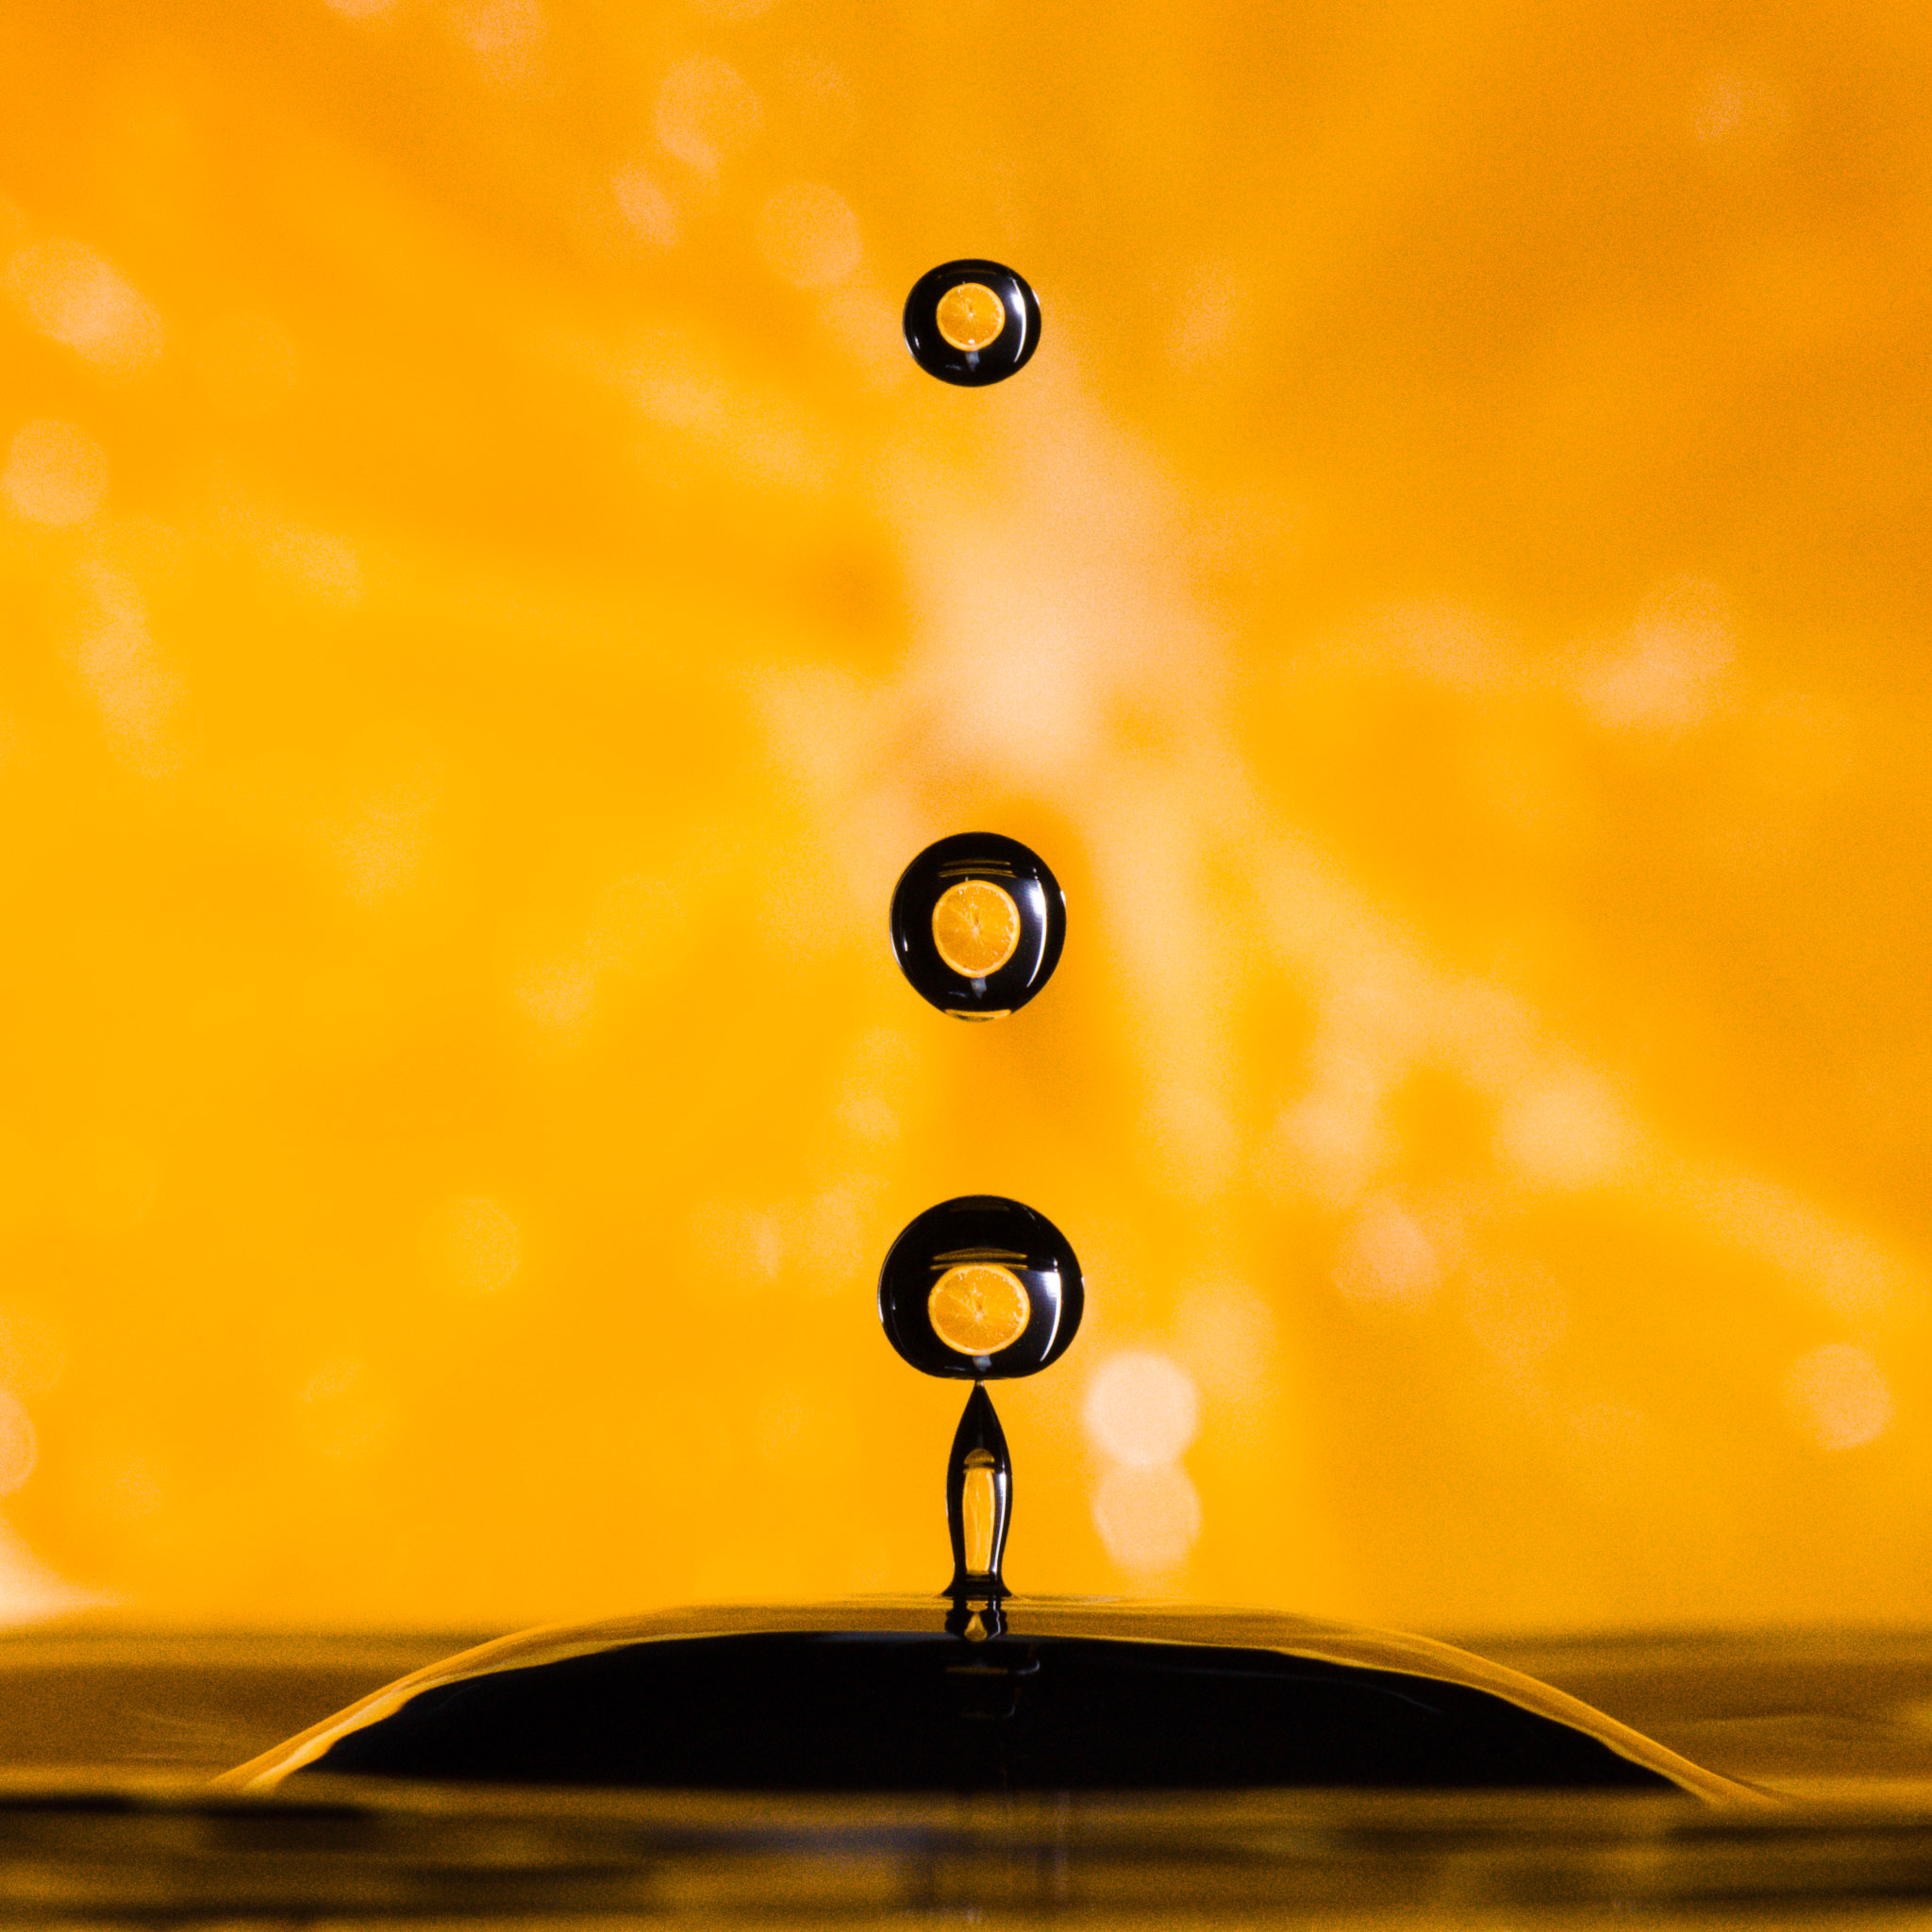
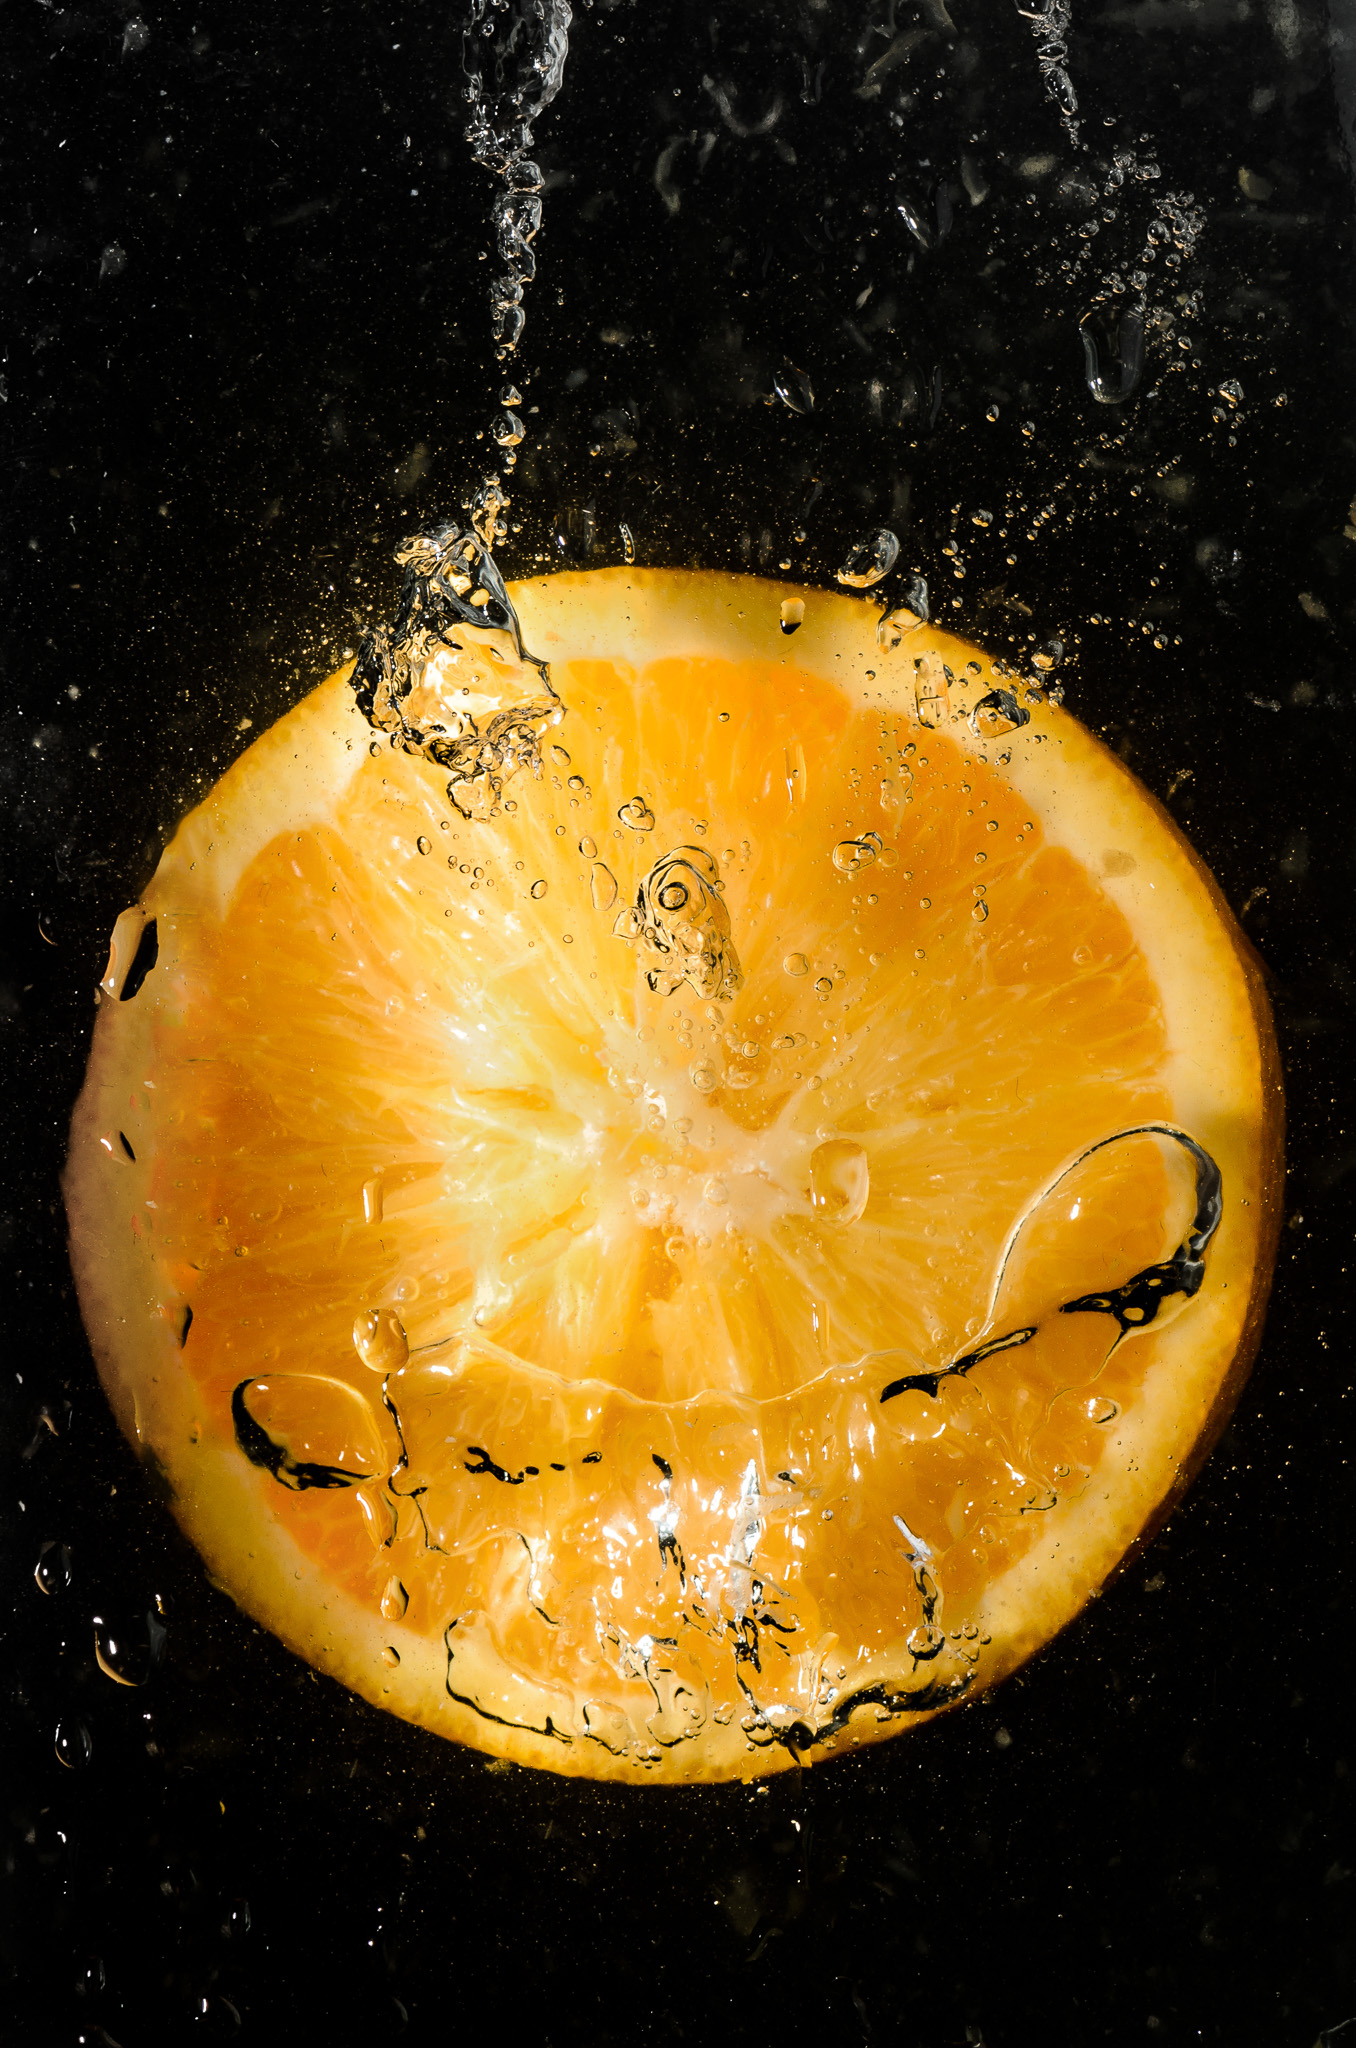
2. Splashes of Water
Another idea is to photograph drops of water directly (no CD needed). Most likely, you’ve already seen some photos of water splashes and how interesting they can be up close. Some photographers go so far as to build custom droplet setups that can produce fascinating patterns of water splashes interacting.
The method I’m covering here isn’t so advanced, but you’ll still end up getting some great shots. Something like this is fairly easy to achieve:
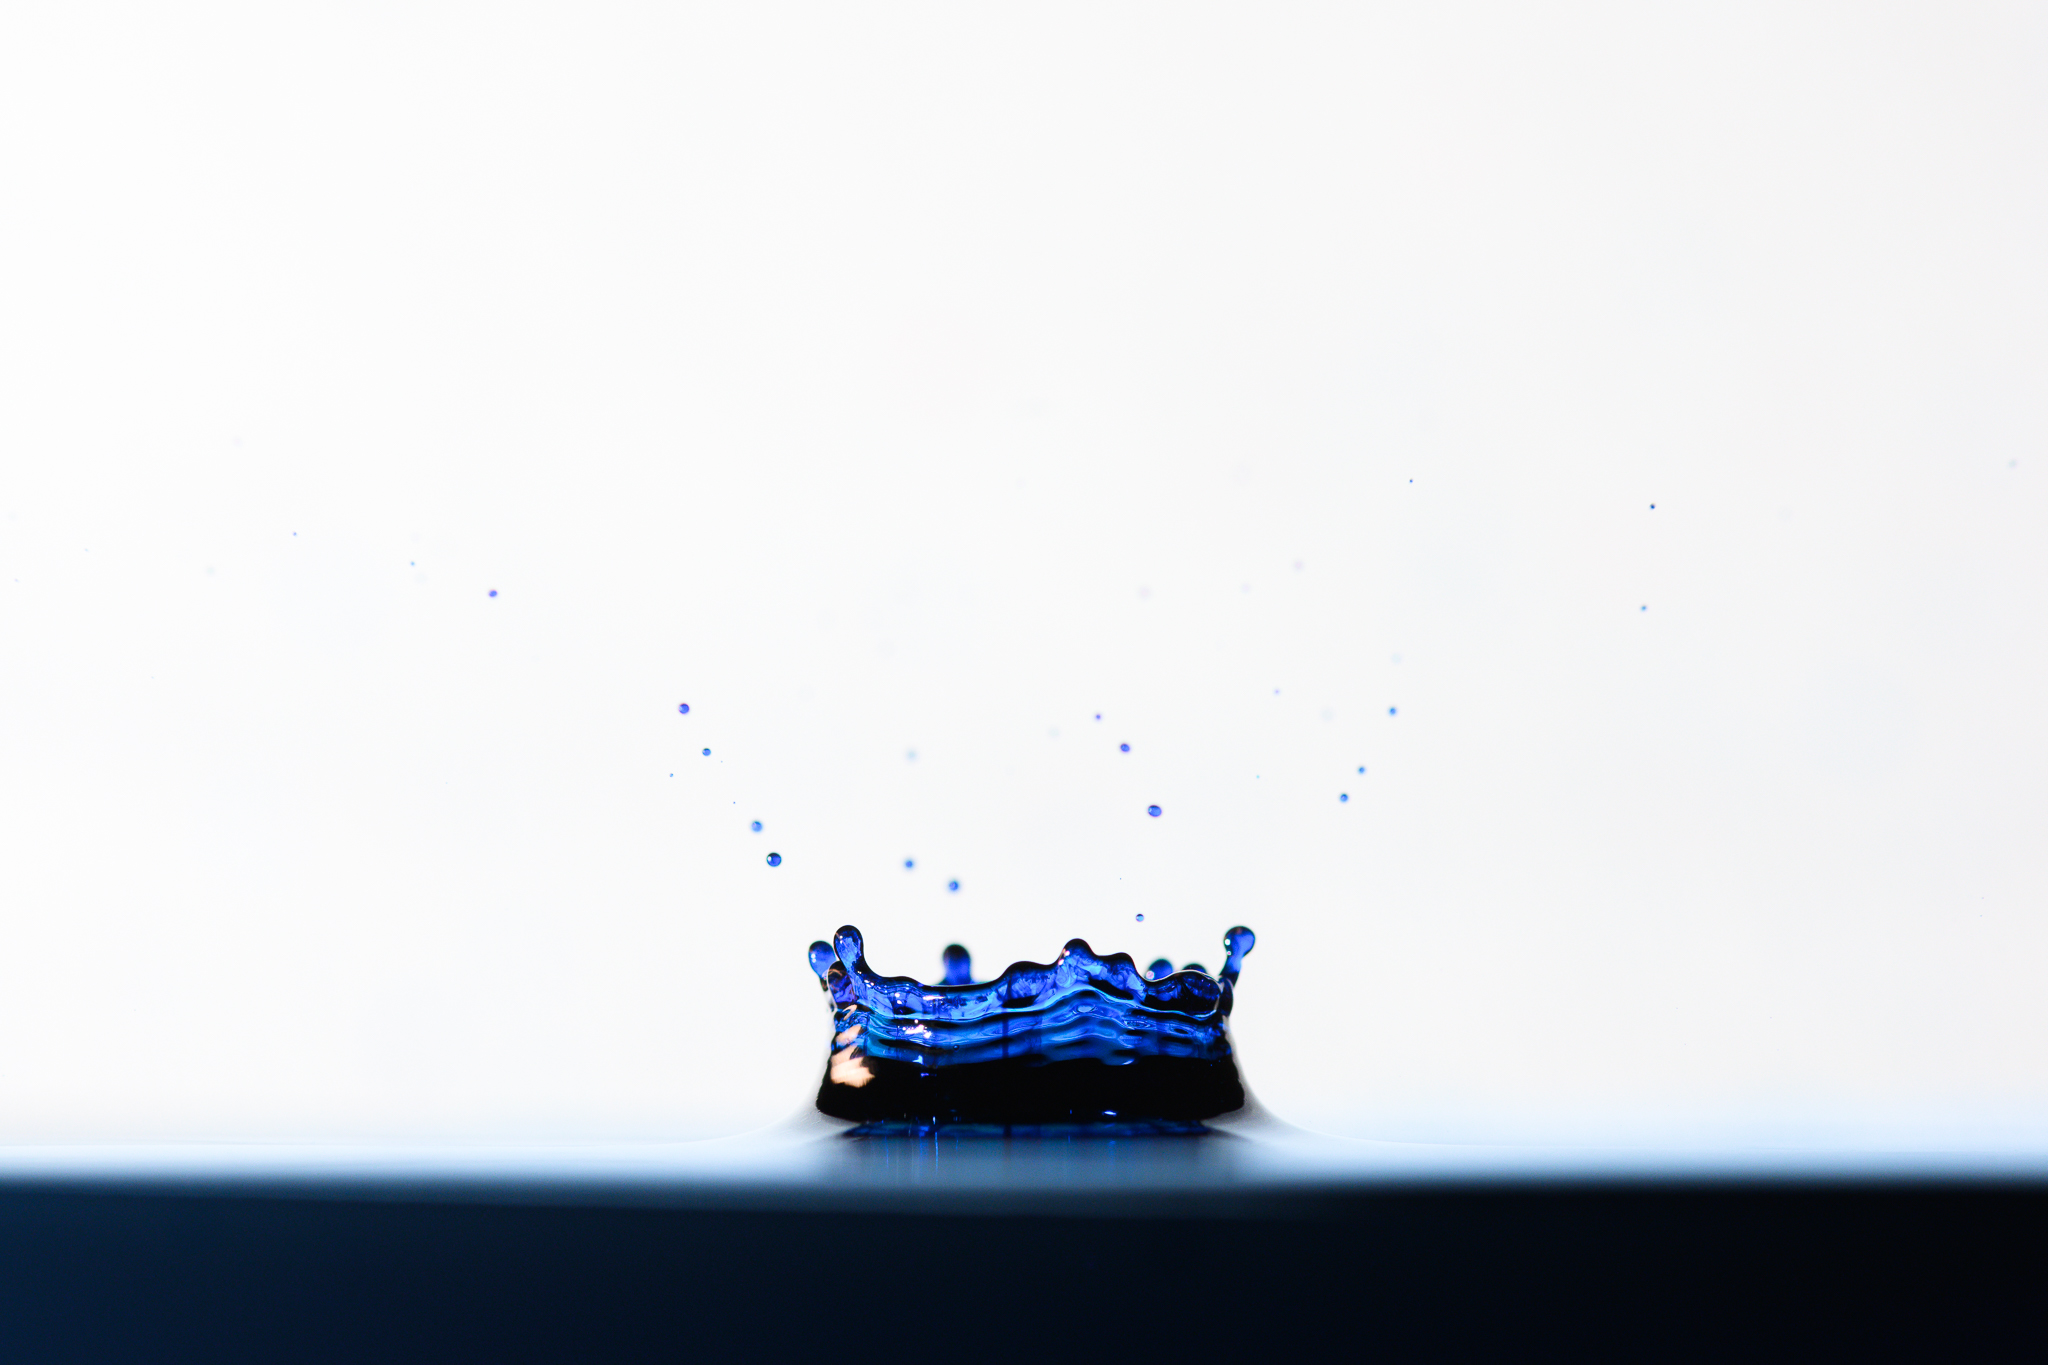
My process was simply to hold a bottle of food coloring about arm’s length above a (very full) bowl of water. As I dripped in the food coloring with my right hand, I’d try to take a photo at the perfect moment with my left.
It takes a bit of practice, of course – both to time the photo correctly and to aim the droplet within your depth of field. You’ll also want to cover a wide area around your bowl of water with newspapers or paper towels, unless you want to risk food dye getting everywhere.
For camera settings, it’s essential that you use a flash, or it will be almost impossible to get the droplet to freeze in midair. I also recommend an aperture of f/8 or narrower to give yourself more depth of field – and thus more room for error. You’ll get the best light by bouncing the flash off a large surface, such as an umbrella, wall, or ceiling.
Experiment with different backgrounds, food coloring, and compositions in order to get some interesting results. For example, I took the following photo by placing an orange slice behind my subject, as you can see reflected in the water:
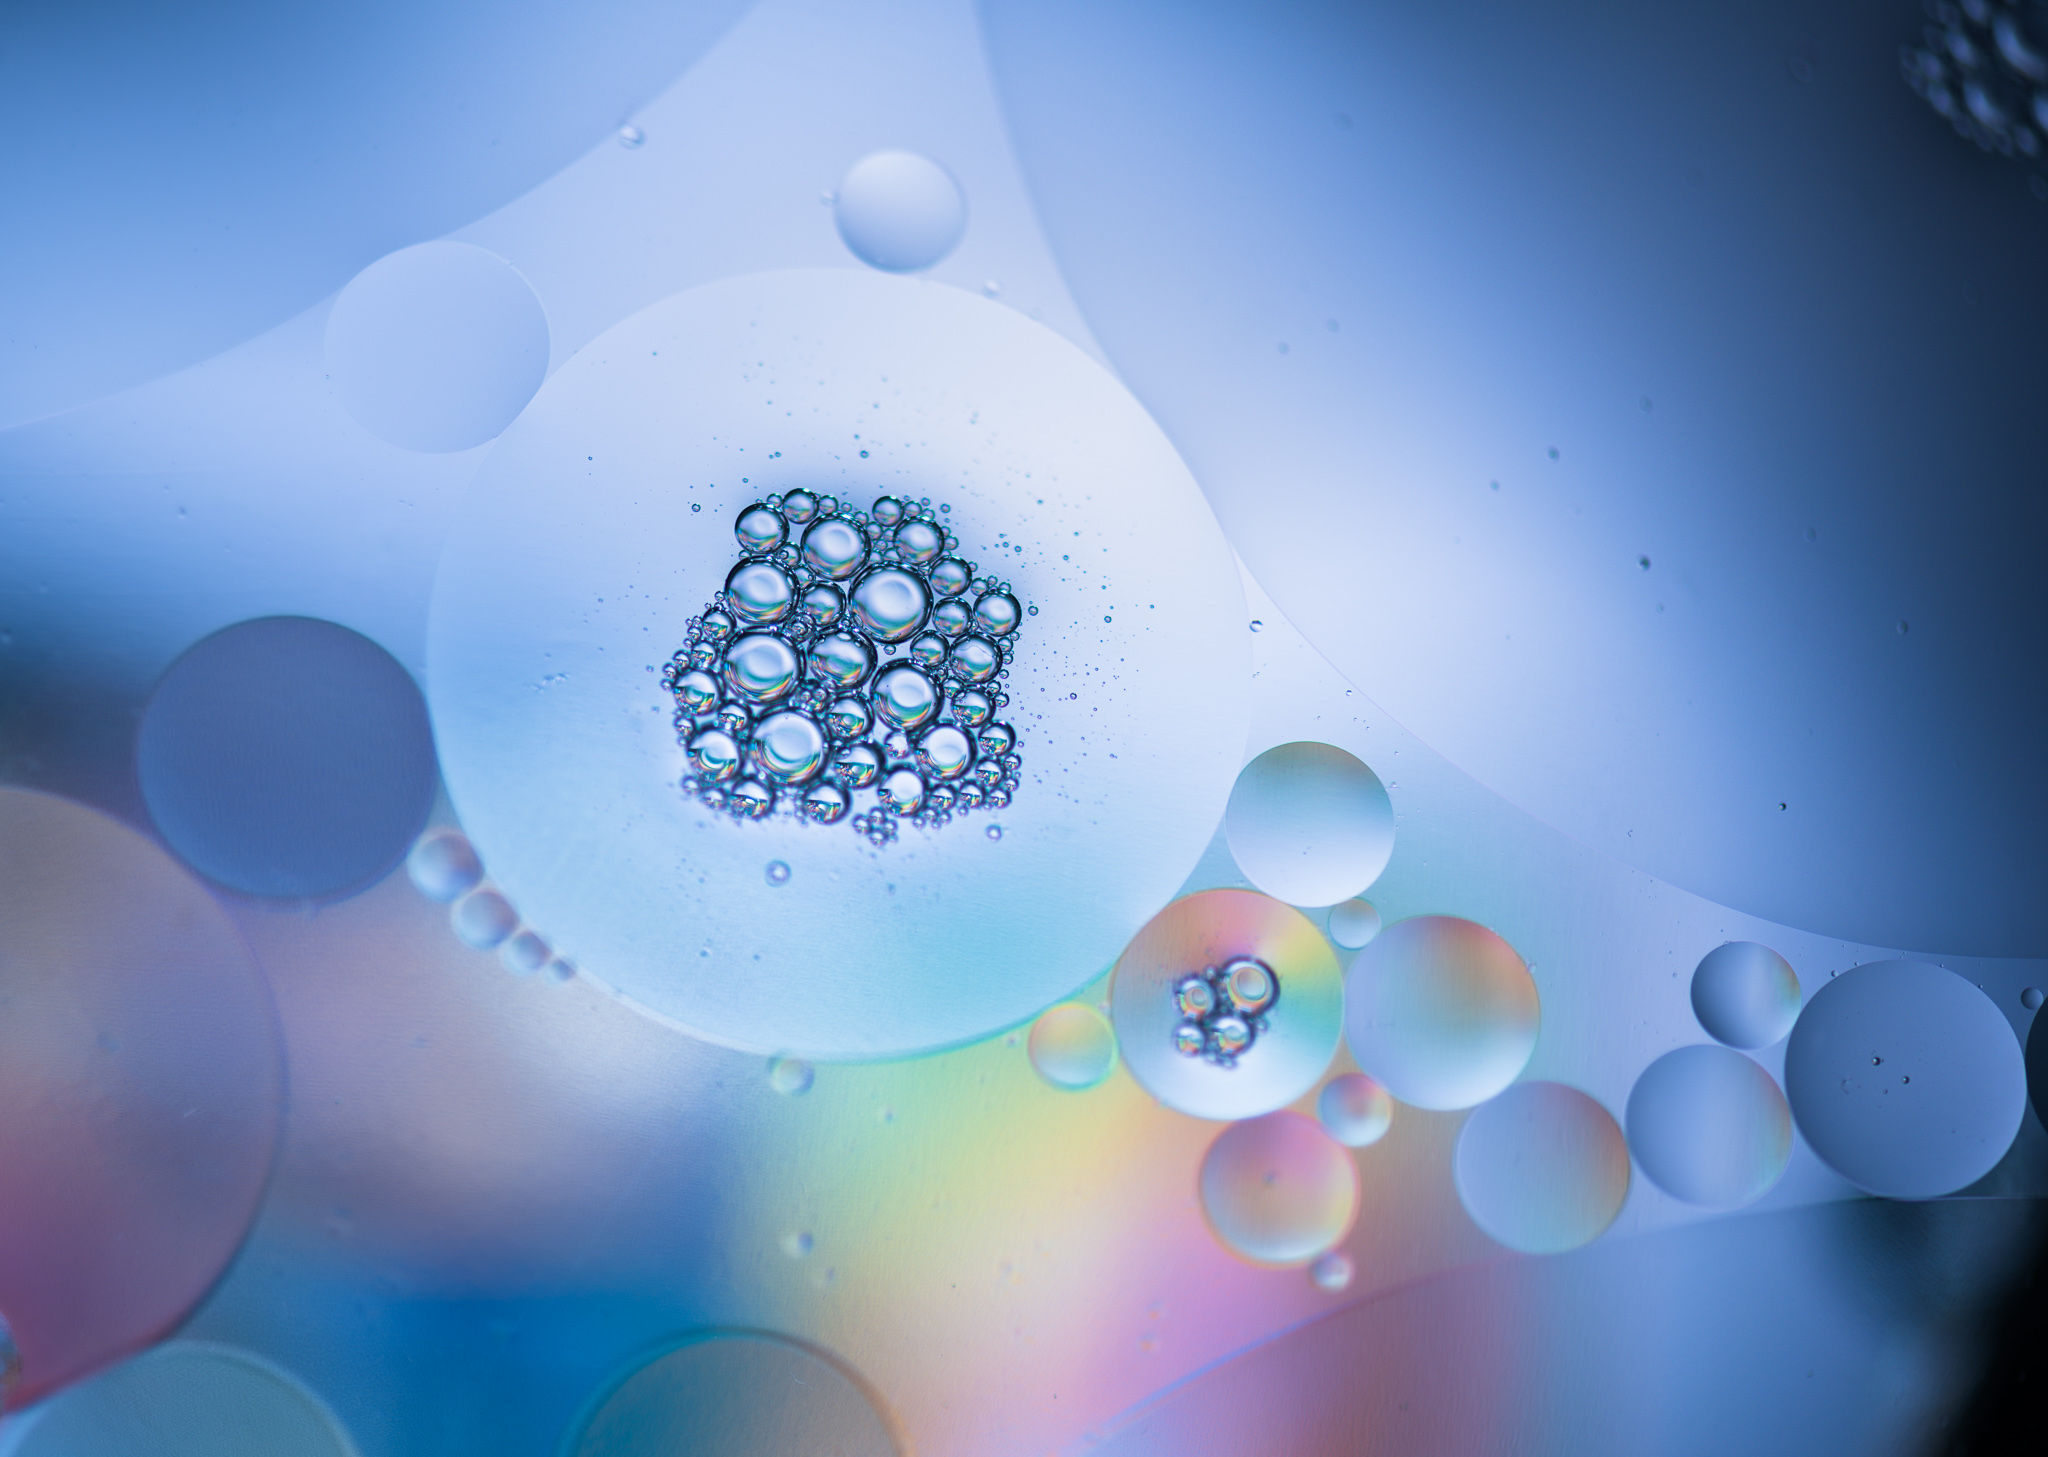
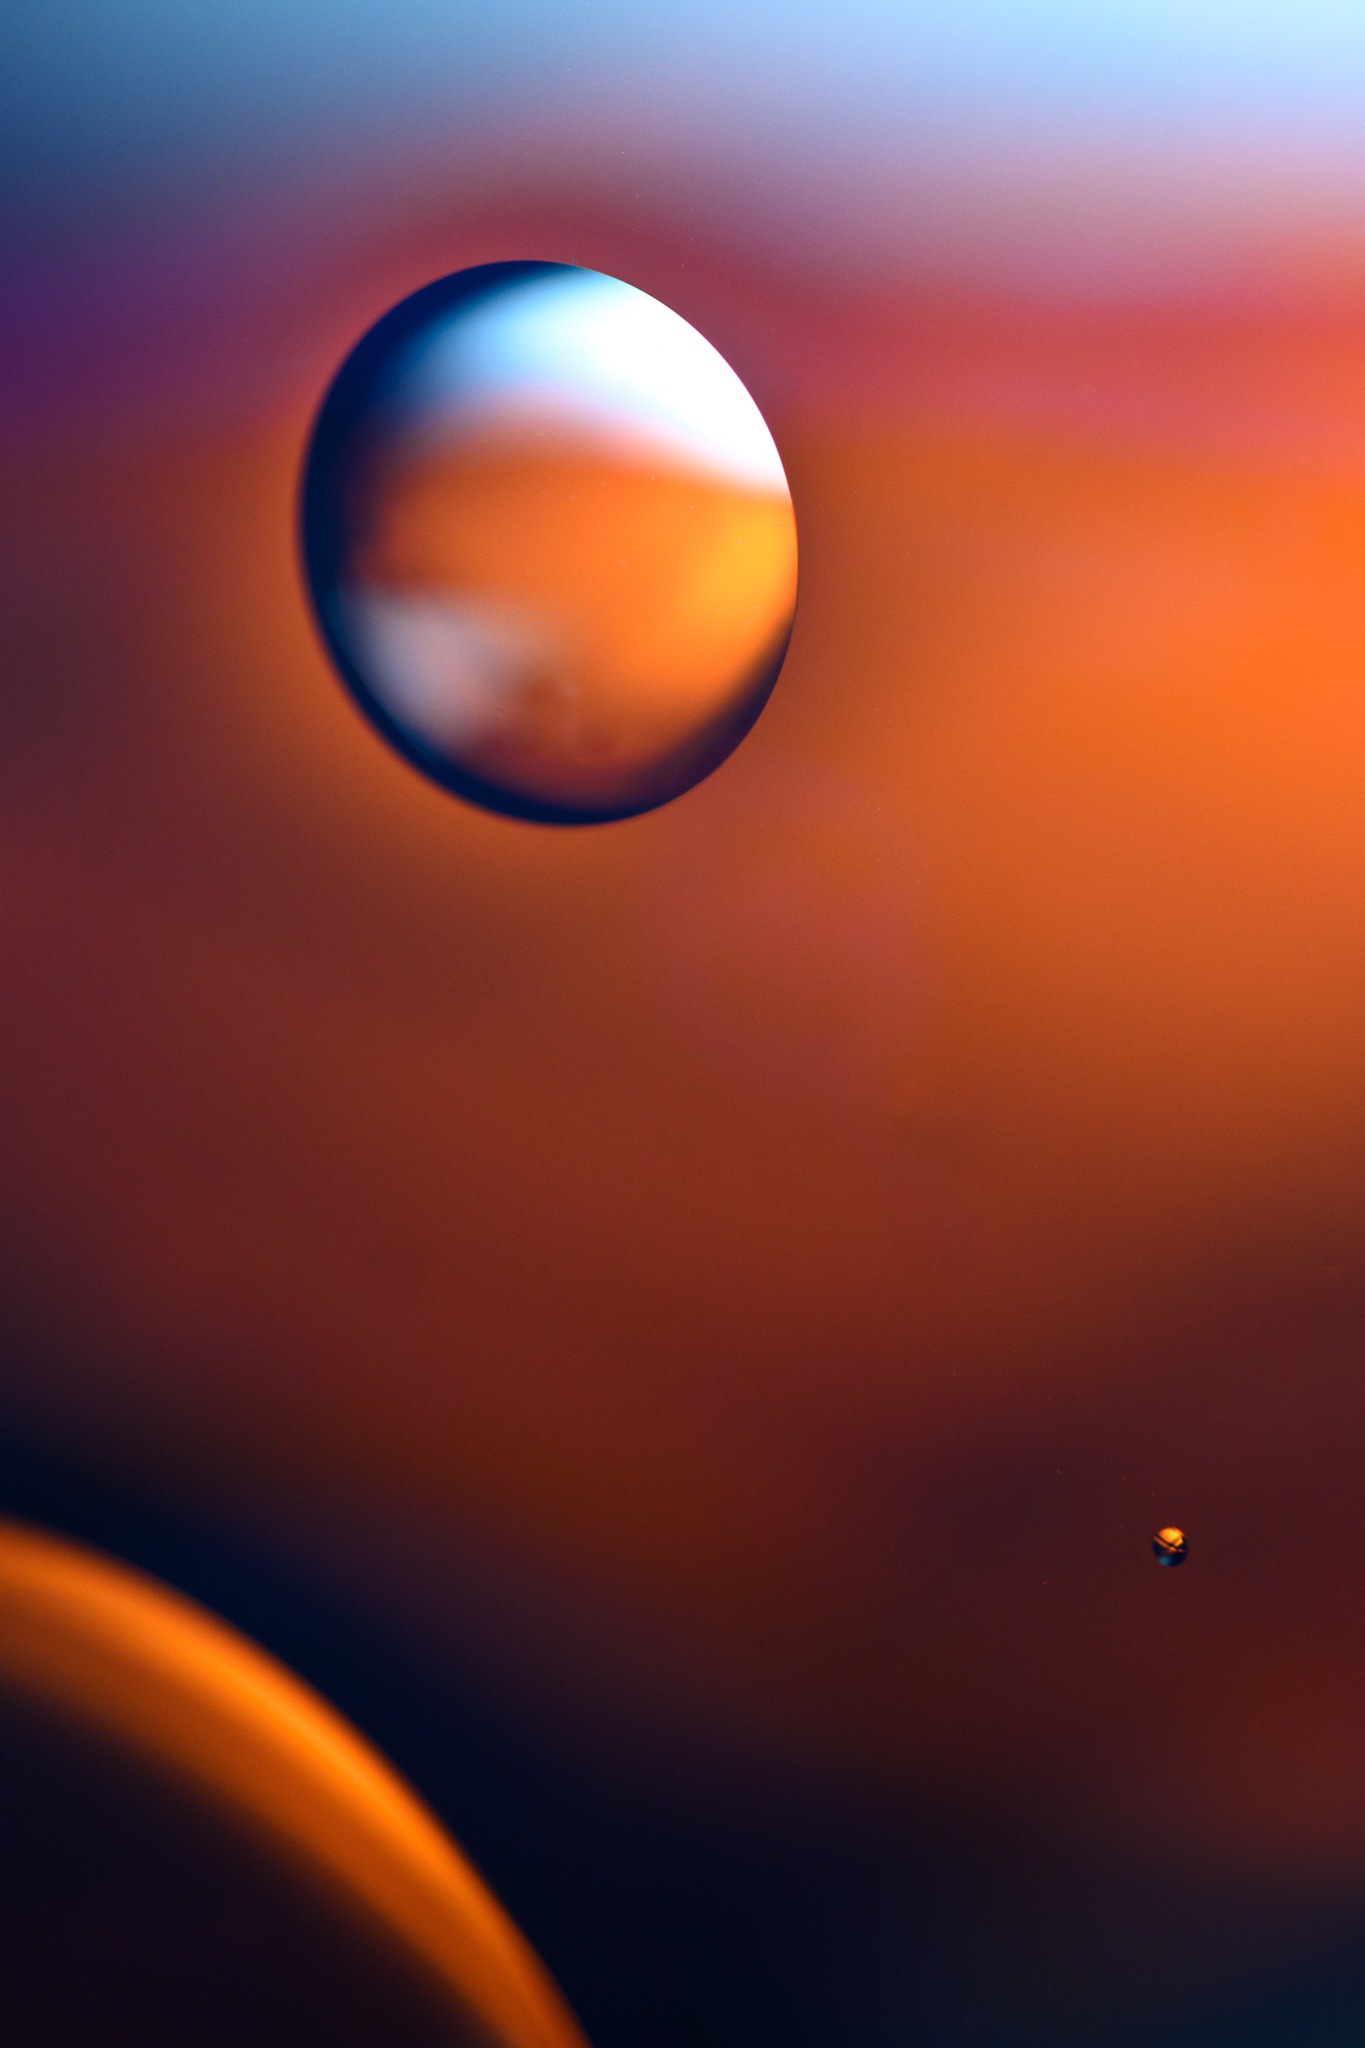
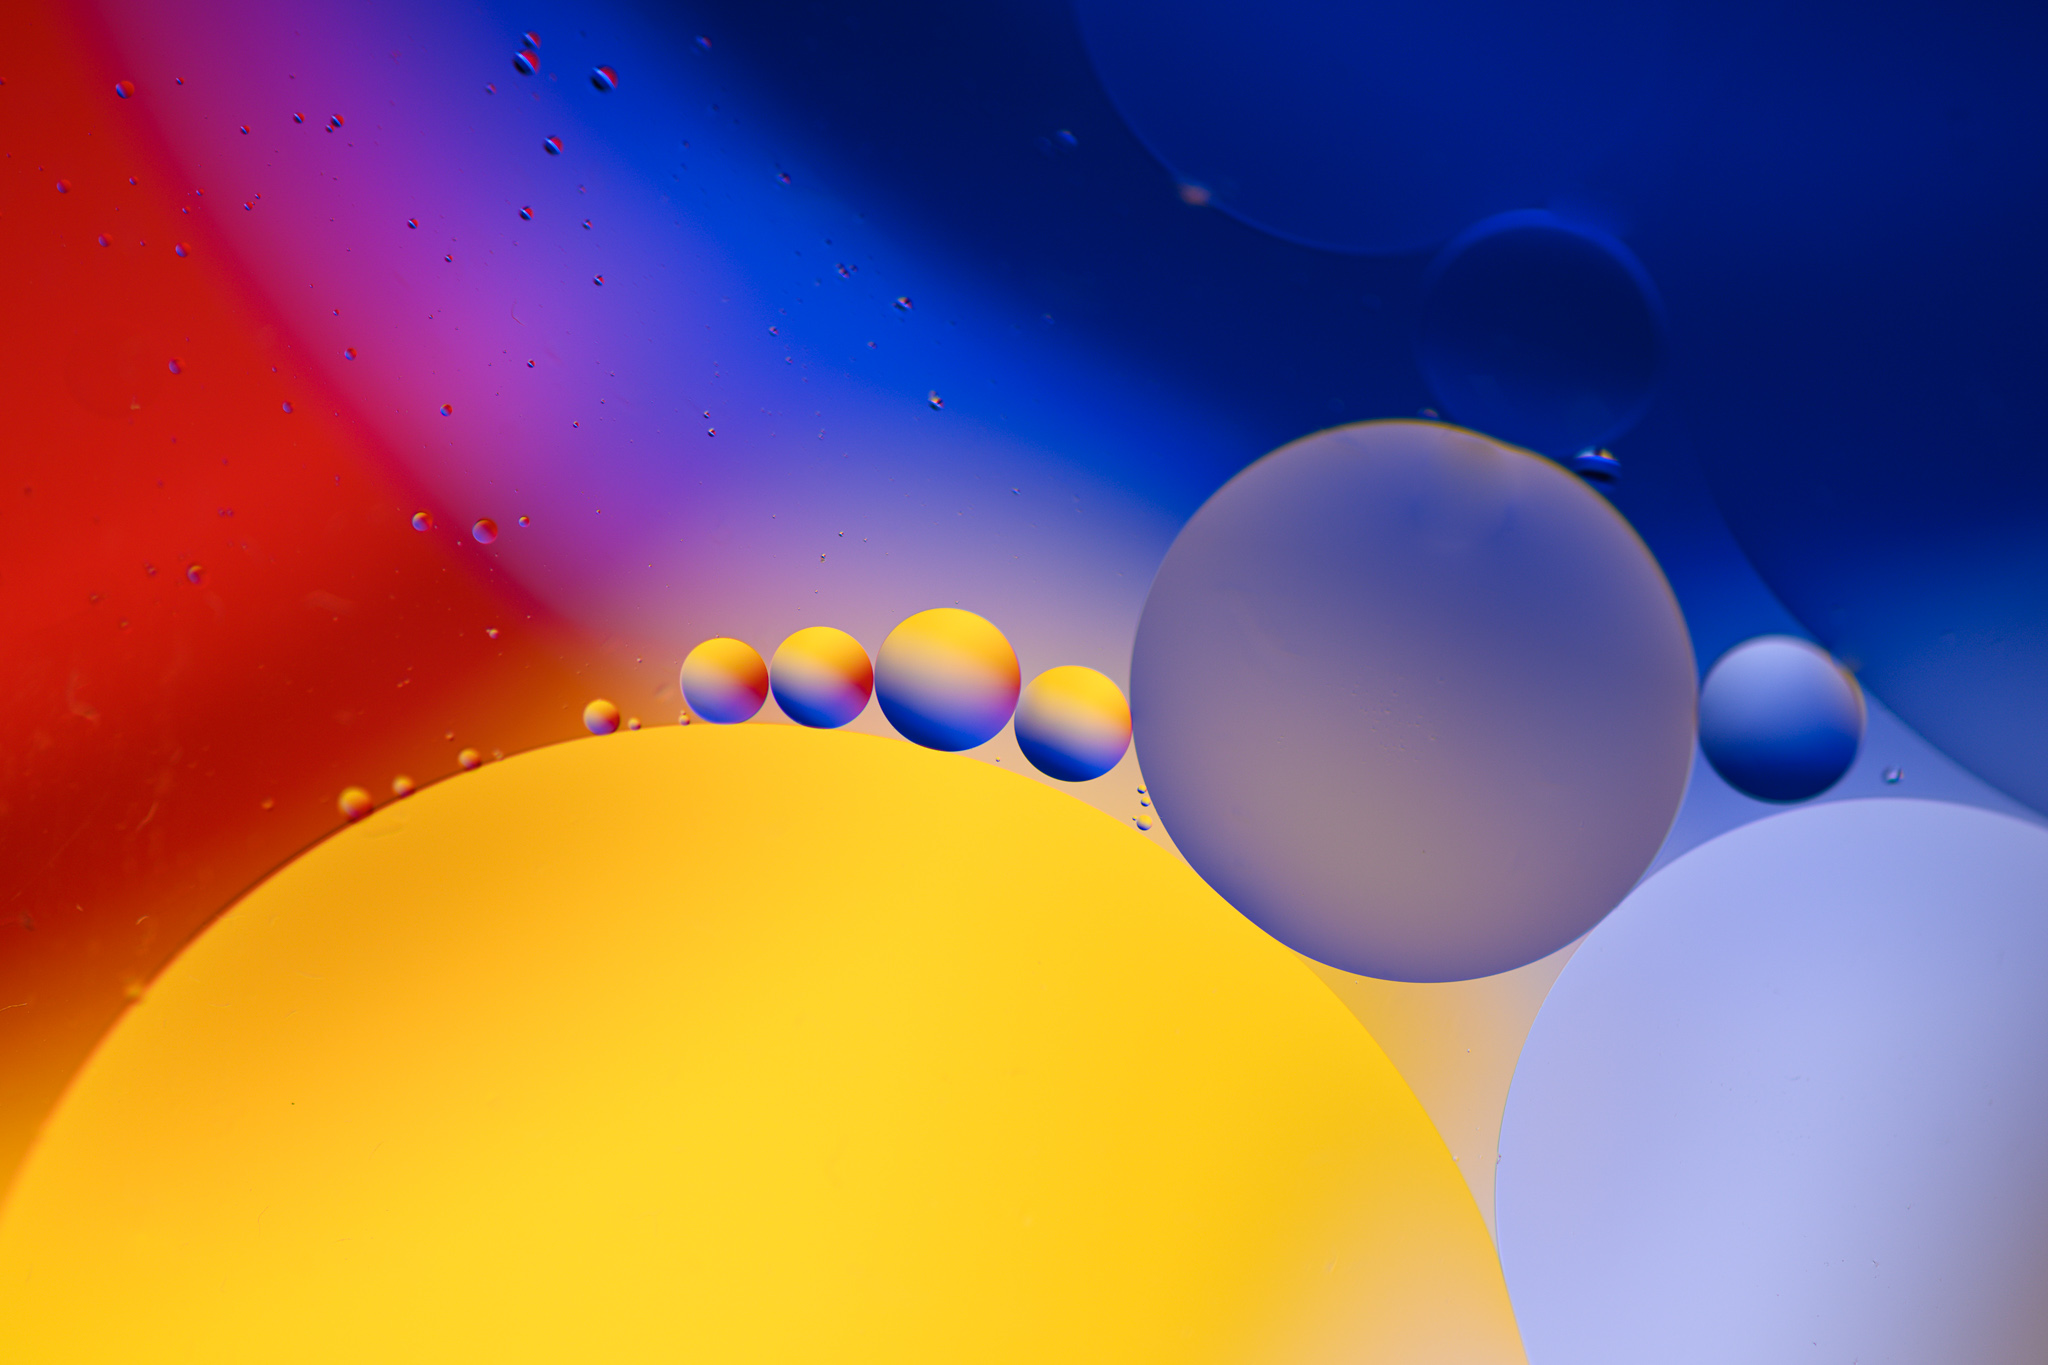
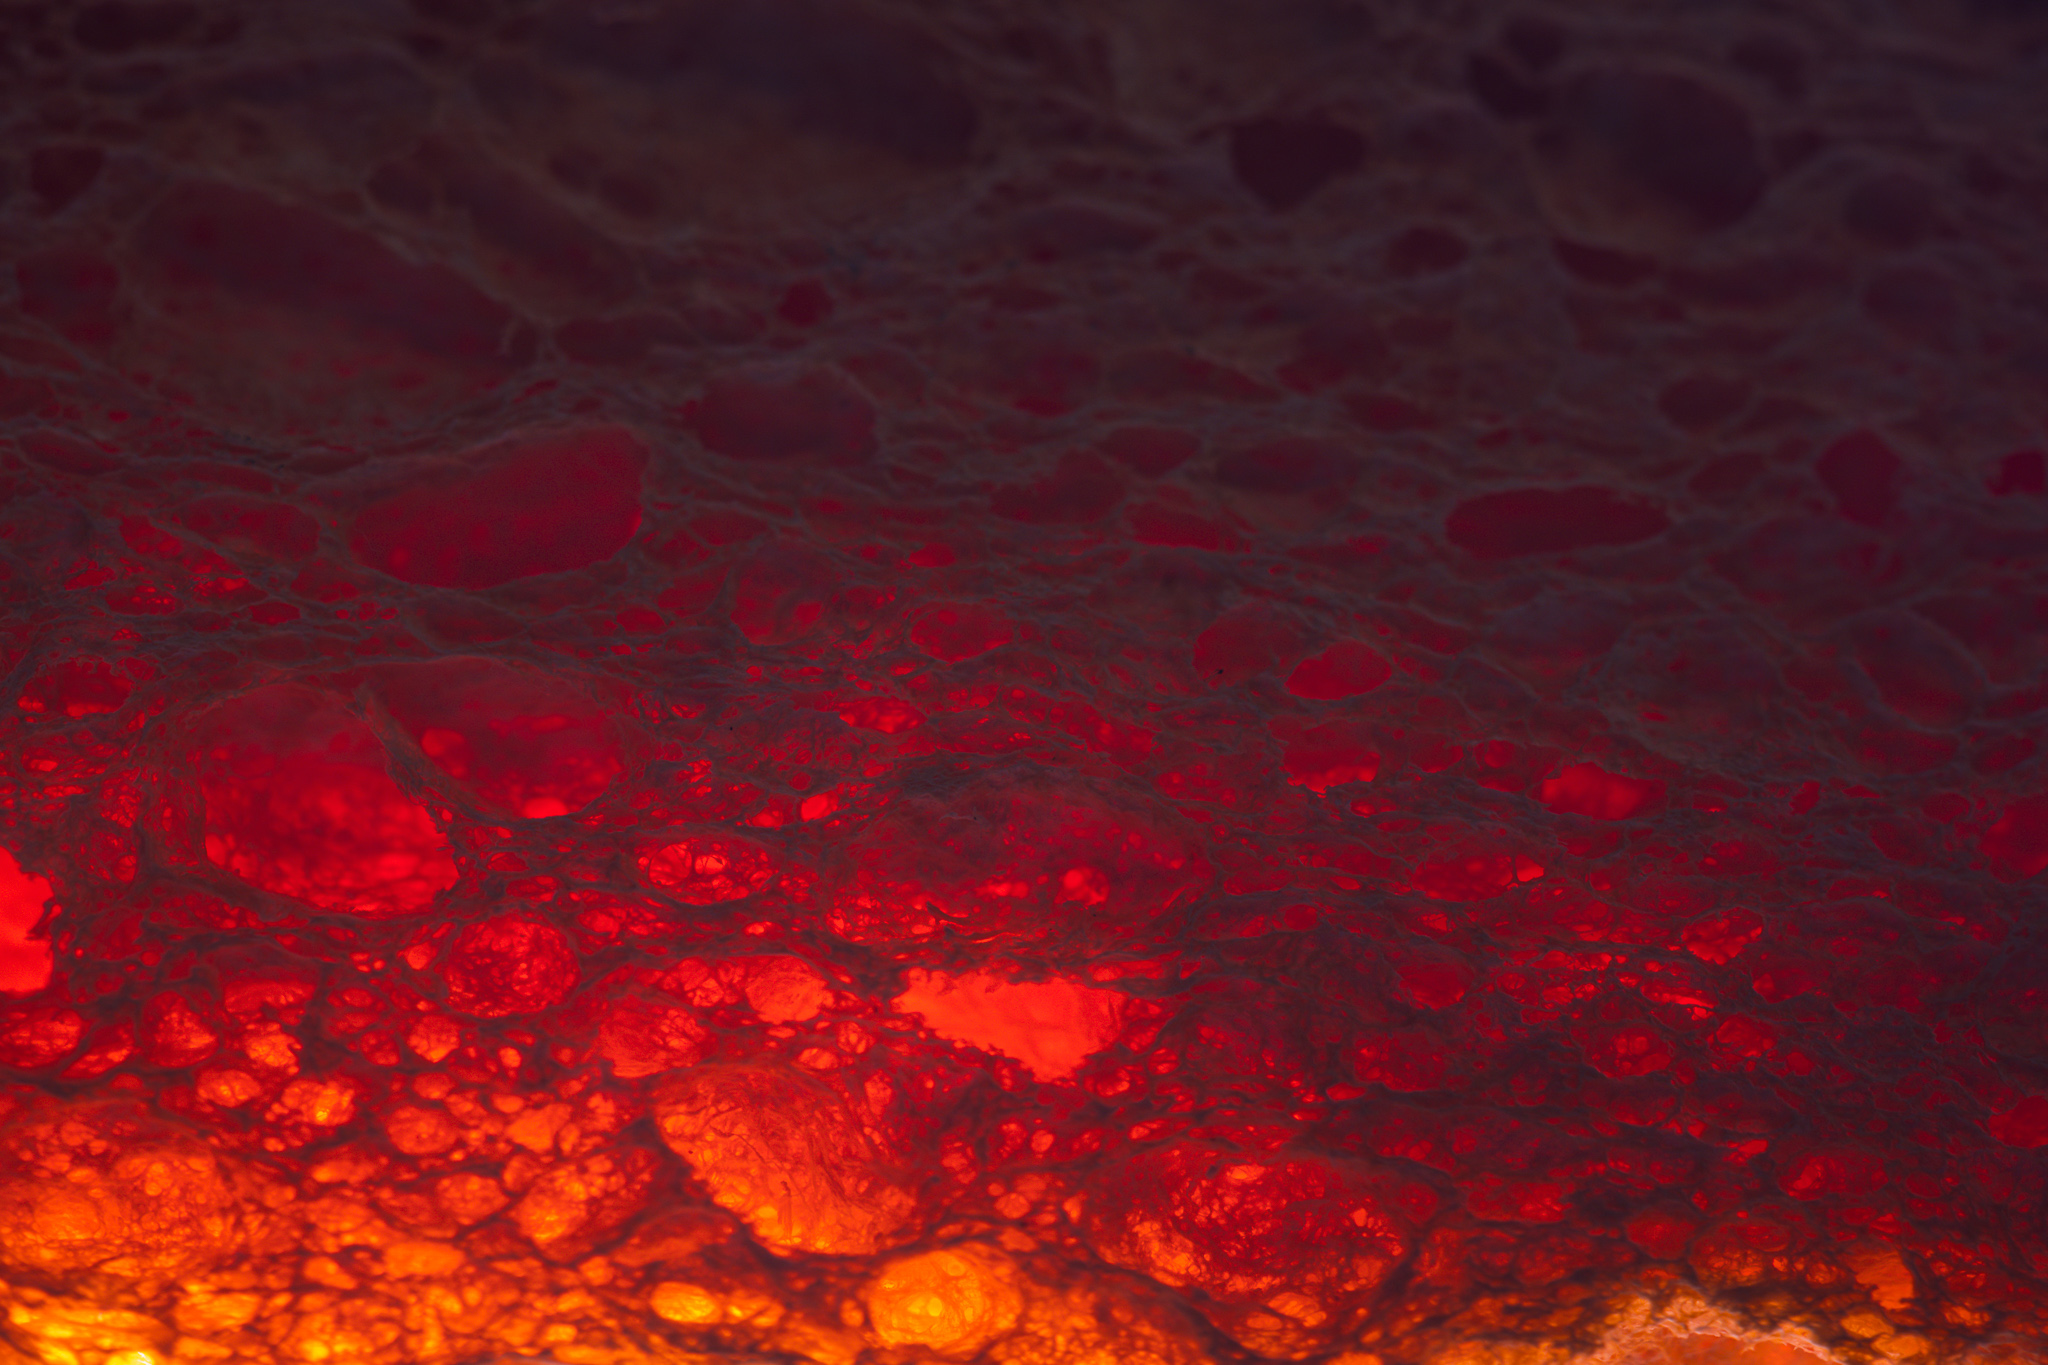
3. Oil and Water
Here’s another one that involves water. (What can I say? It’s a good subject.)
This may actually be my favorite idea on the list, because the results you can get are beautiful and varied. All you need to do is drip some oil on a dish of water, then photograph the setup from above.
Here are the steps:
- Get a baking dish or some other wide container with a clear bottom
- Place the baking dish on some tall objects so there’s empty space below. (I used two paint cans, one under either side of the baking dish)
- Fill it most of the way with water
- Pour in about a tablespoon of oil
- Stir the oil gently so it disperses around the surface of the water
- Set up your camera directly above the baking dish and compose straight down
- Experiment with the color and direction of light, as well as sliding colorful objects under your baking dish
You can see a photo of my setup here:
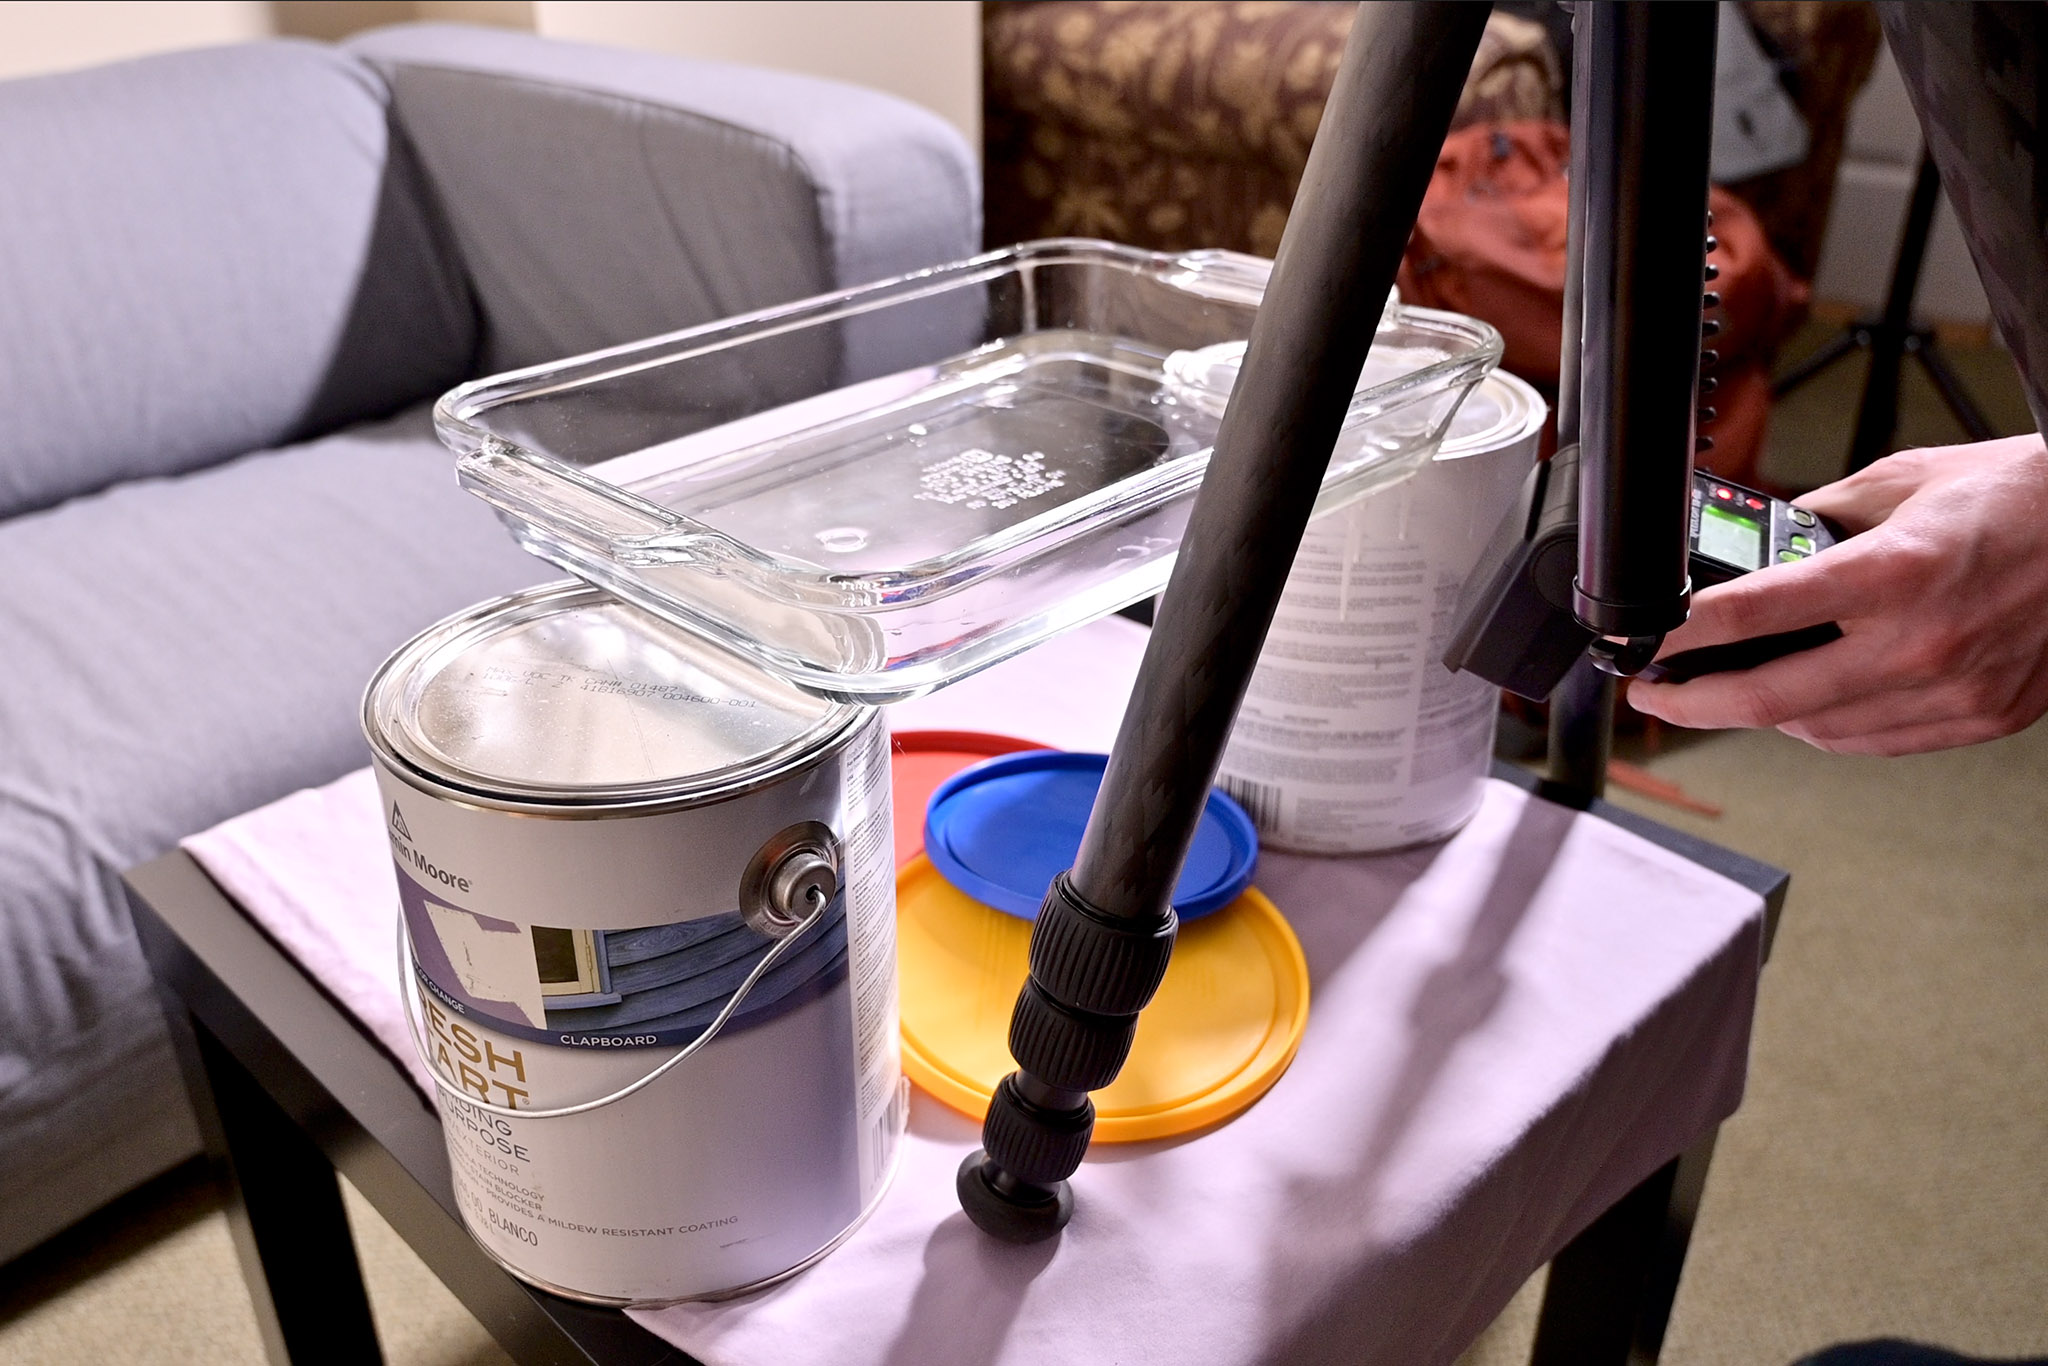
I found that I got the best light by shining my flash onto the tablecloth so it bounced from under the baking dish. (You can see how I’m aiming my flash in the photo above.) I also liked to slide magazines and bright plastic lids under the setup to give me some interesting color patterns.
Here are some of the photos I’ve taken with this technique:

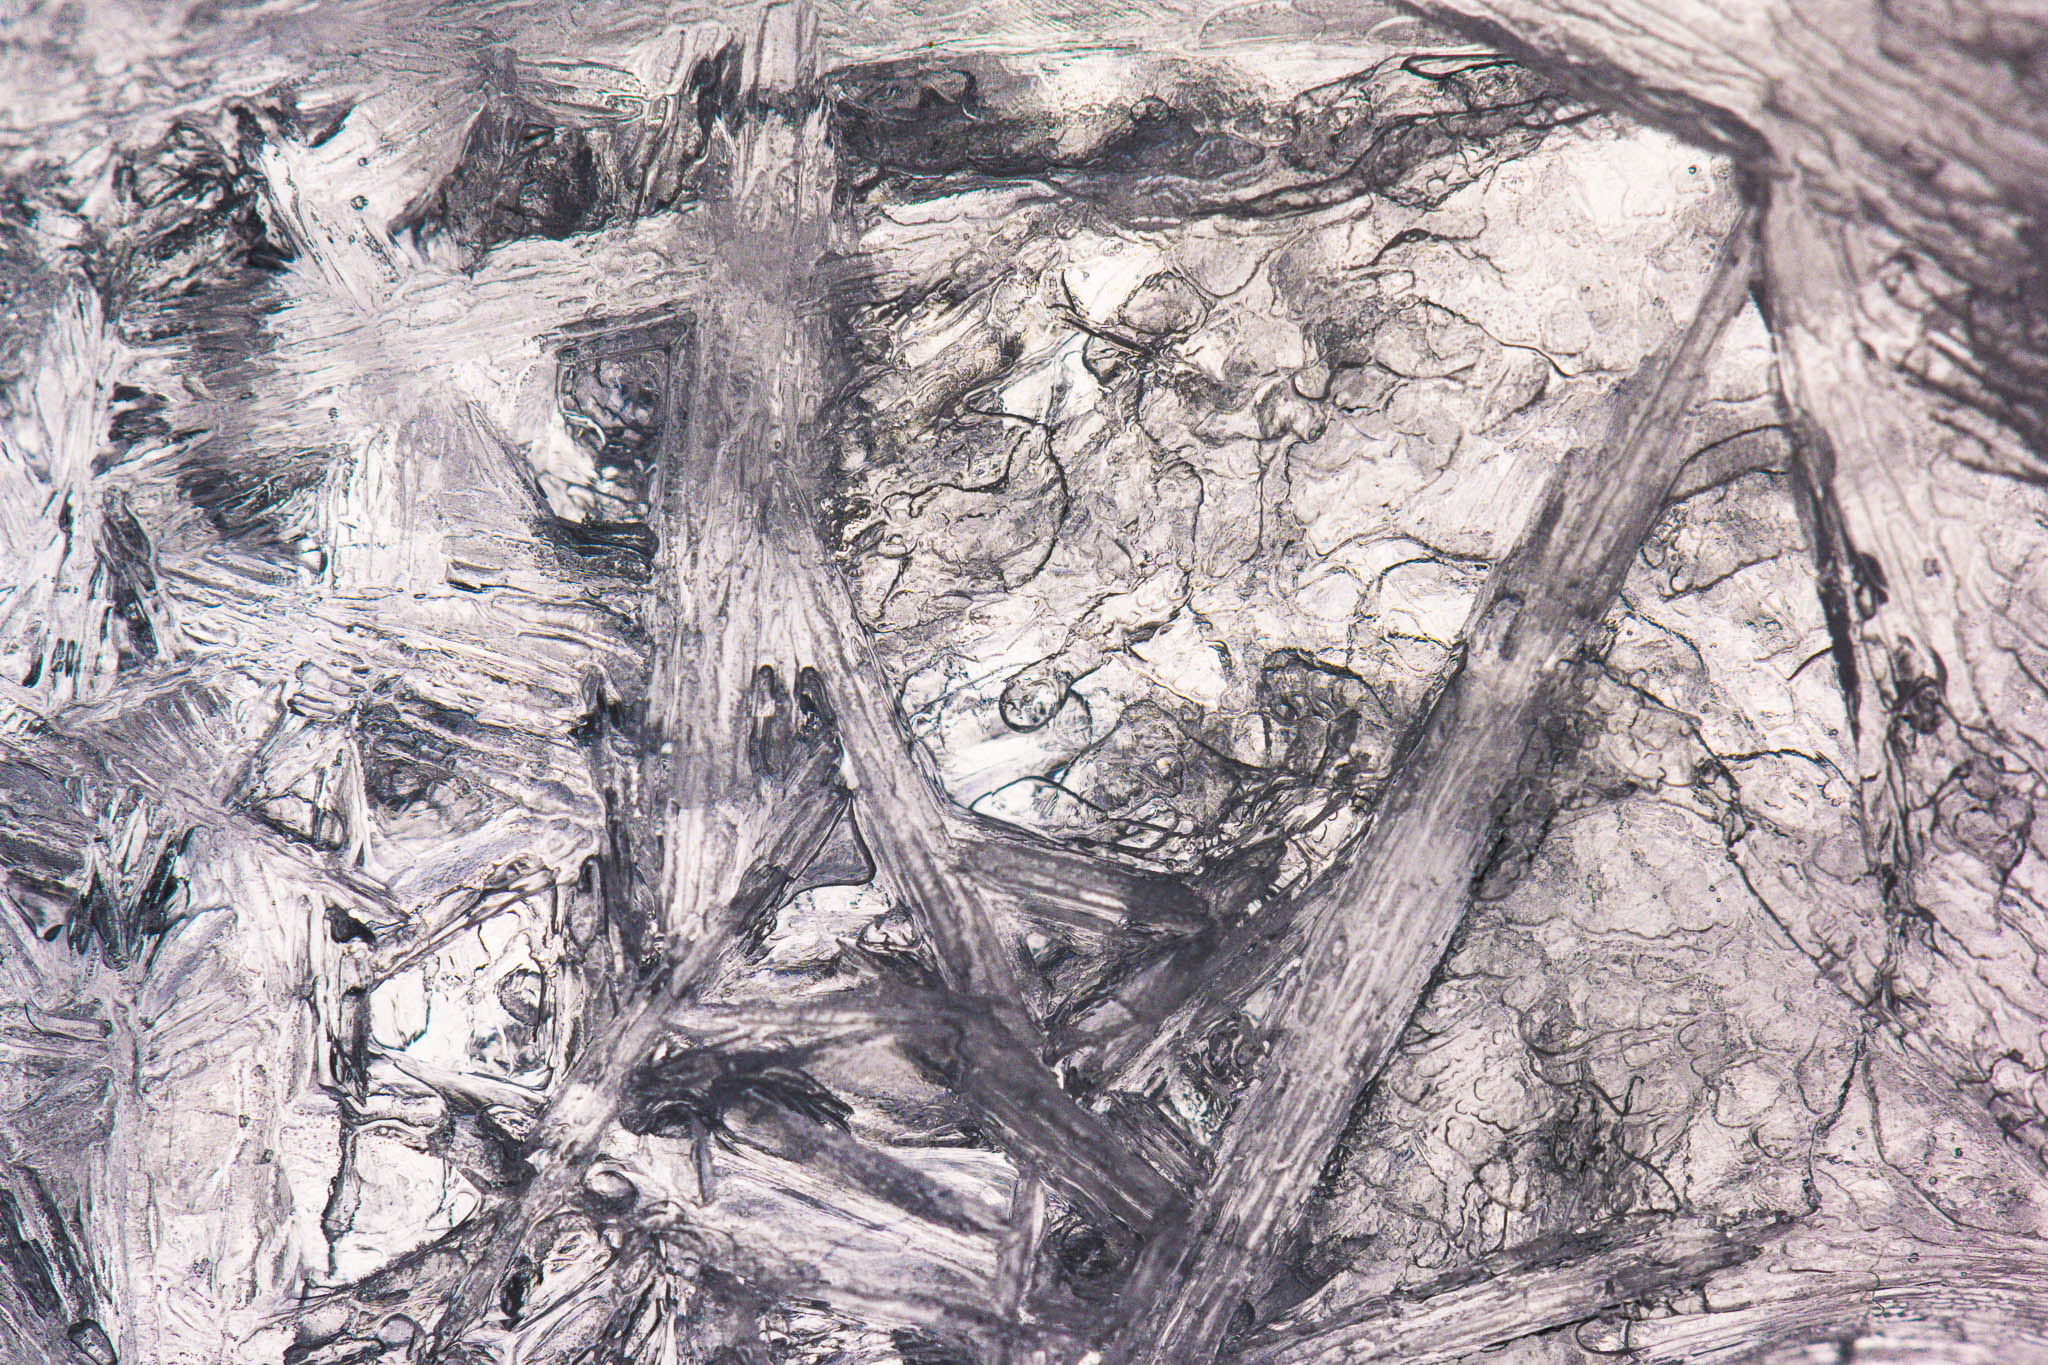
4. Clear Ice
Most likely, the ice cubes in your freezer aren’t very interesting for photography. (Unless you have one of those dinosaur-shaped ice trays 🙂
The biggest problem with ordinary ice cubes is that they usually have too many air bubbles in them, without any interesting crystal patterns or cool textures. However, you can fix this problem by making clear ice from scratch. Here’s the process:
- Fill a baking dish halfway with extremely salty water, and put it in the freezer for an hour
- Separately, boil some water and let it sit until it cools. It’s best to used distilled water (can be found at most grocery stores), but filtered or even tap water still work well. What you’re doing here is removing any air bubbles in the water
- Pour the boiled water into some freeze-proof containers, such as freezer bags or silicon molds
- Put the containers of boiled water into the saltwater baking dish from earlier
- Wait a couple hours, and the ice in your containers will be almost completely clear, with some interesting crystalline patterns that work great for macro photography
Voila! Clear ice.

My recommendation is to try lighting the ice from below (for example, by placing it on a clear dish and shining your light from underneath) to show maximum texture in the ice. But the light you use is something you should experiment with for yourself.
For what it’s worth, this is the closest to a “unique” idea on this list, and I’ve only taken a handful of photos like this myself. In other words, there’s a lot of untapped potential here. This is how these photos can look:

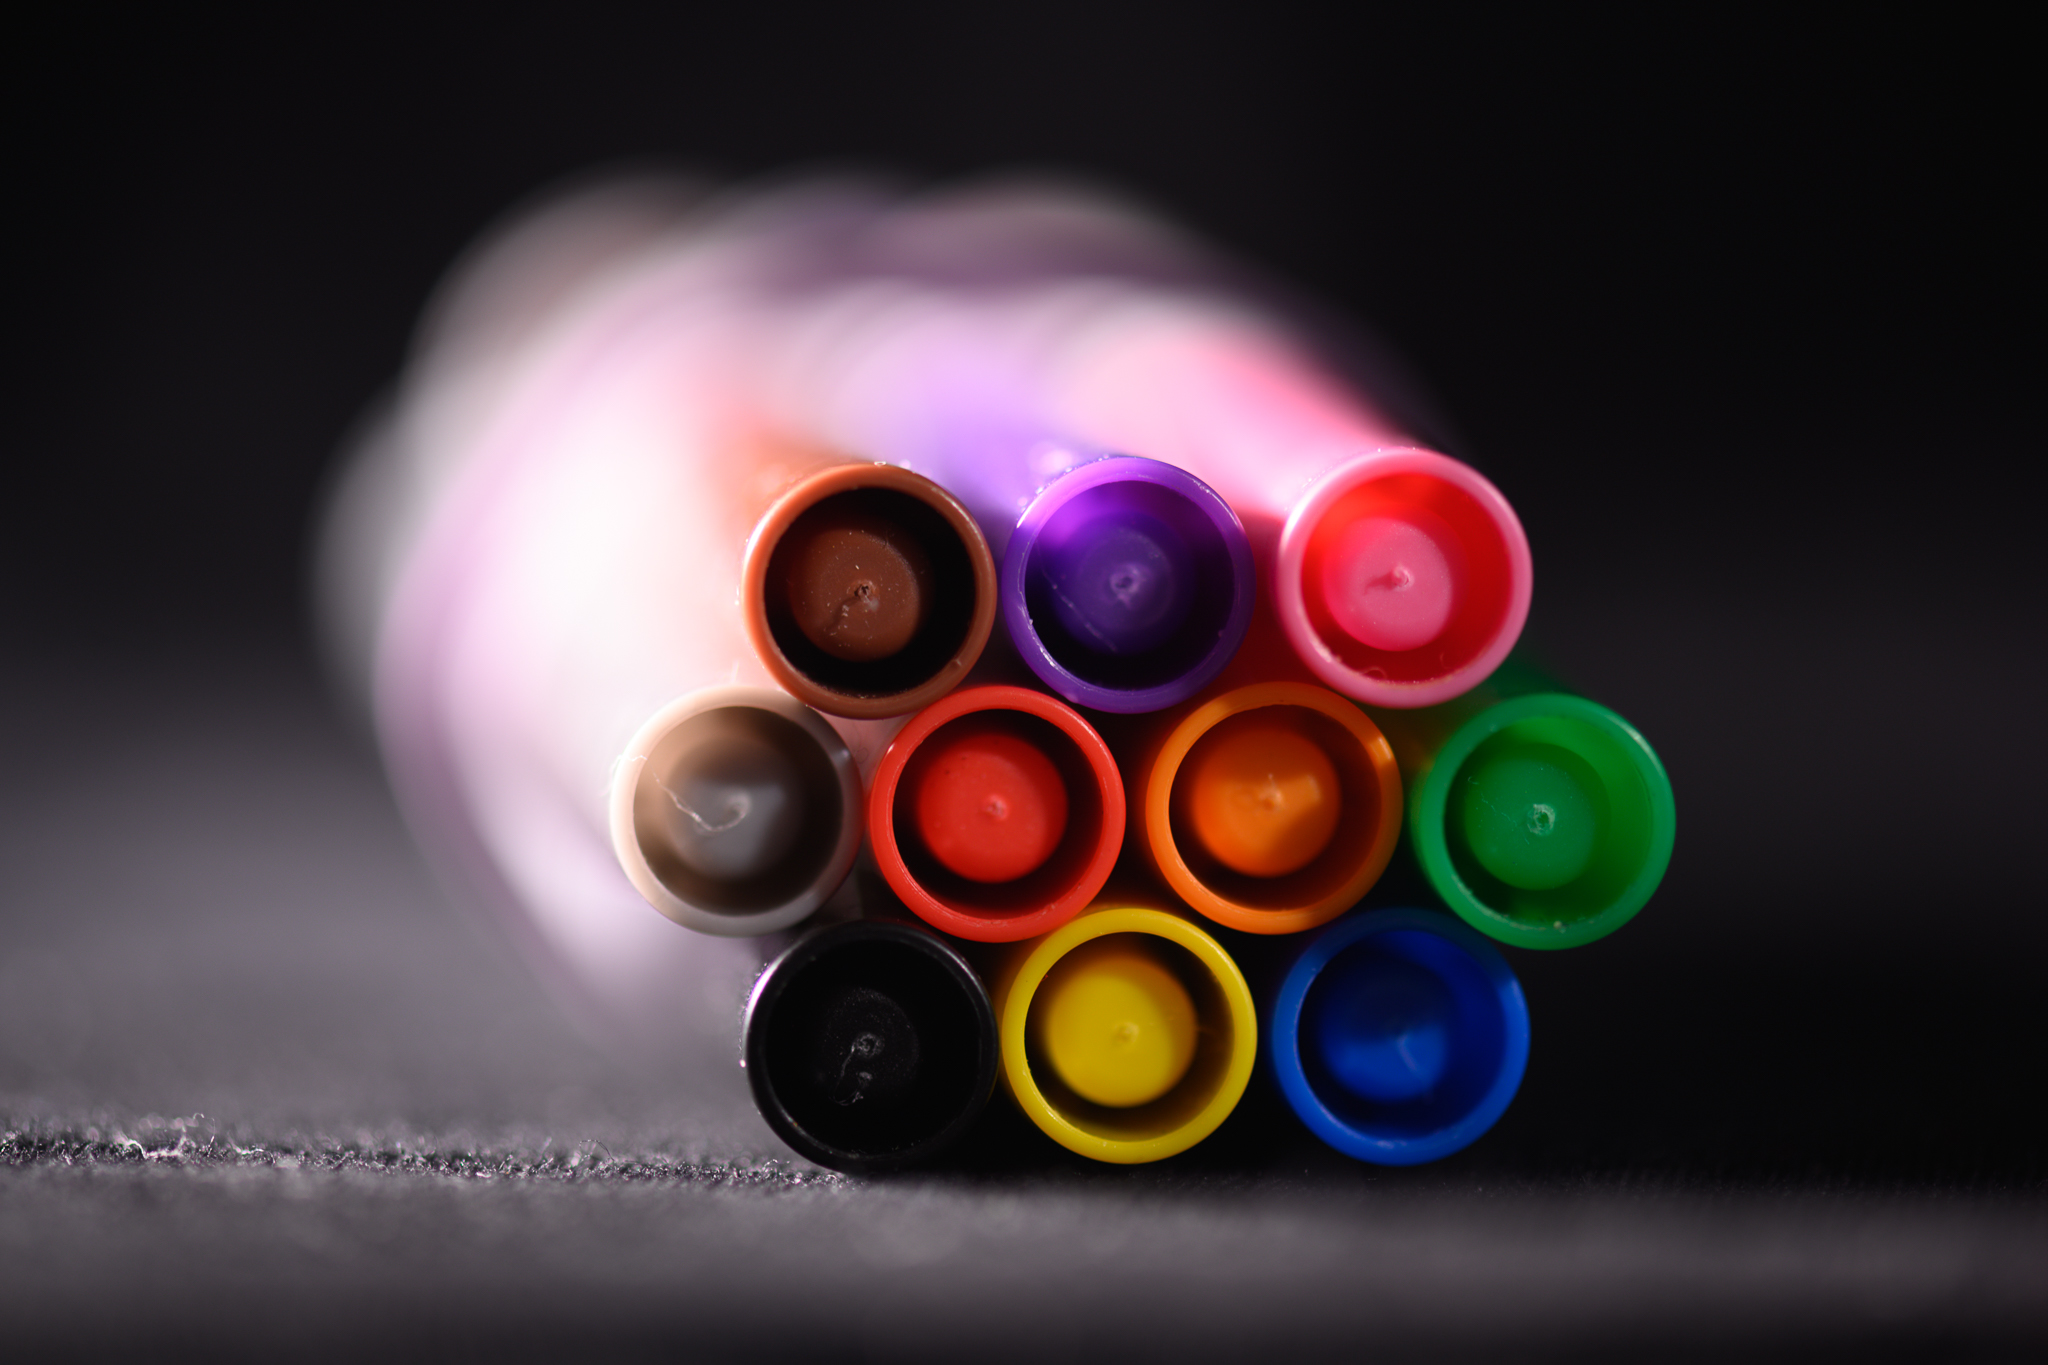
5. Other Ideas
There really are countless subjects that you can capture for this type of close-up photography, so I’ll just go through a few of my other favorites quickly.
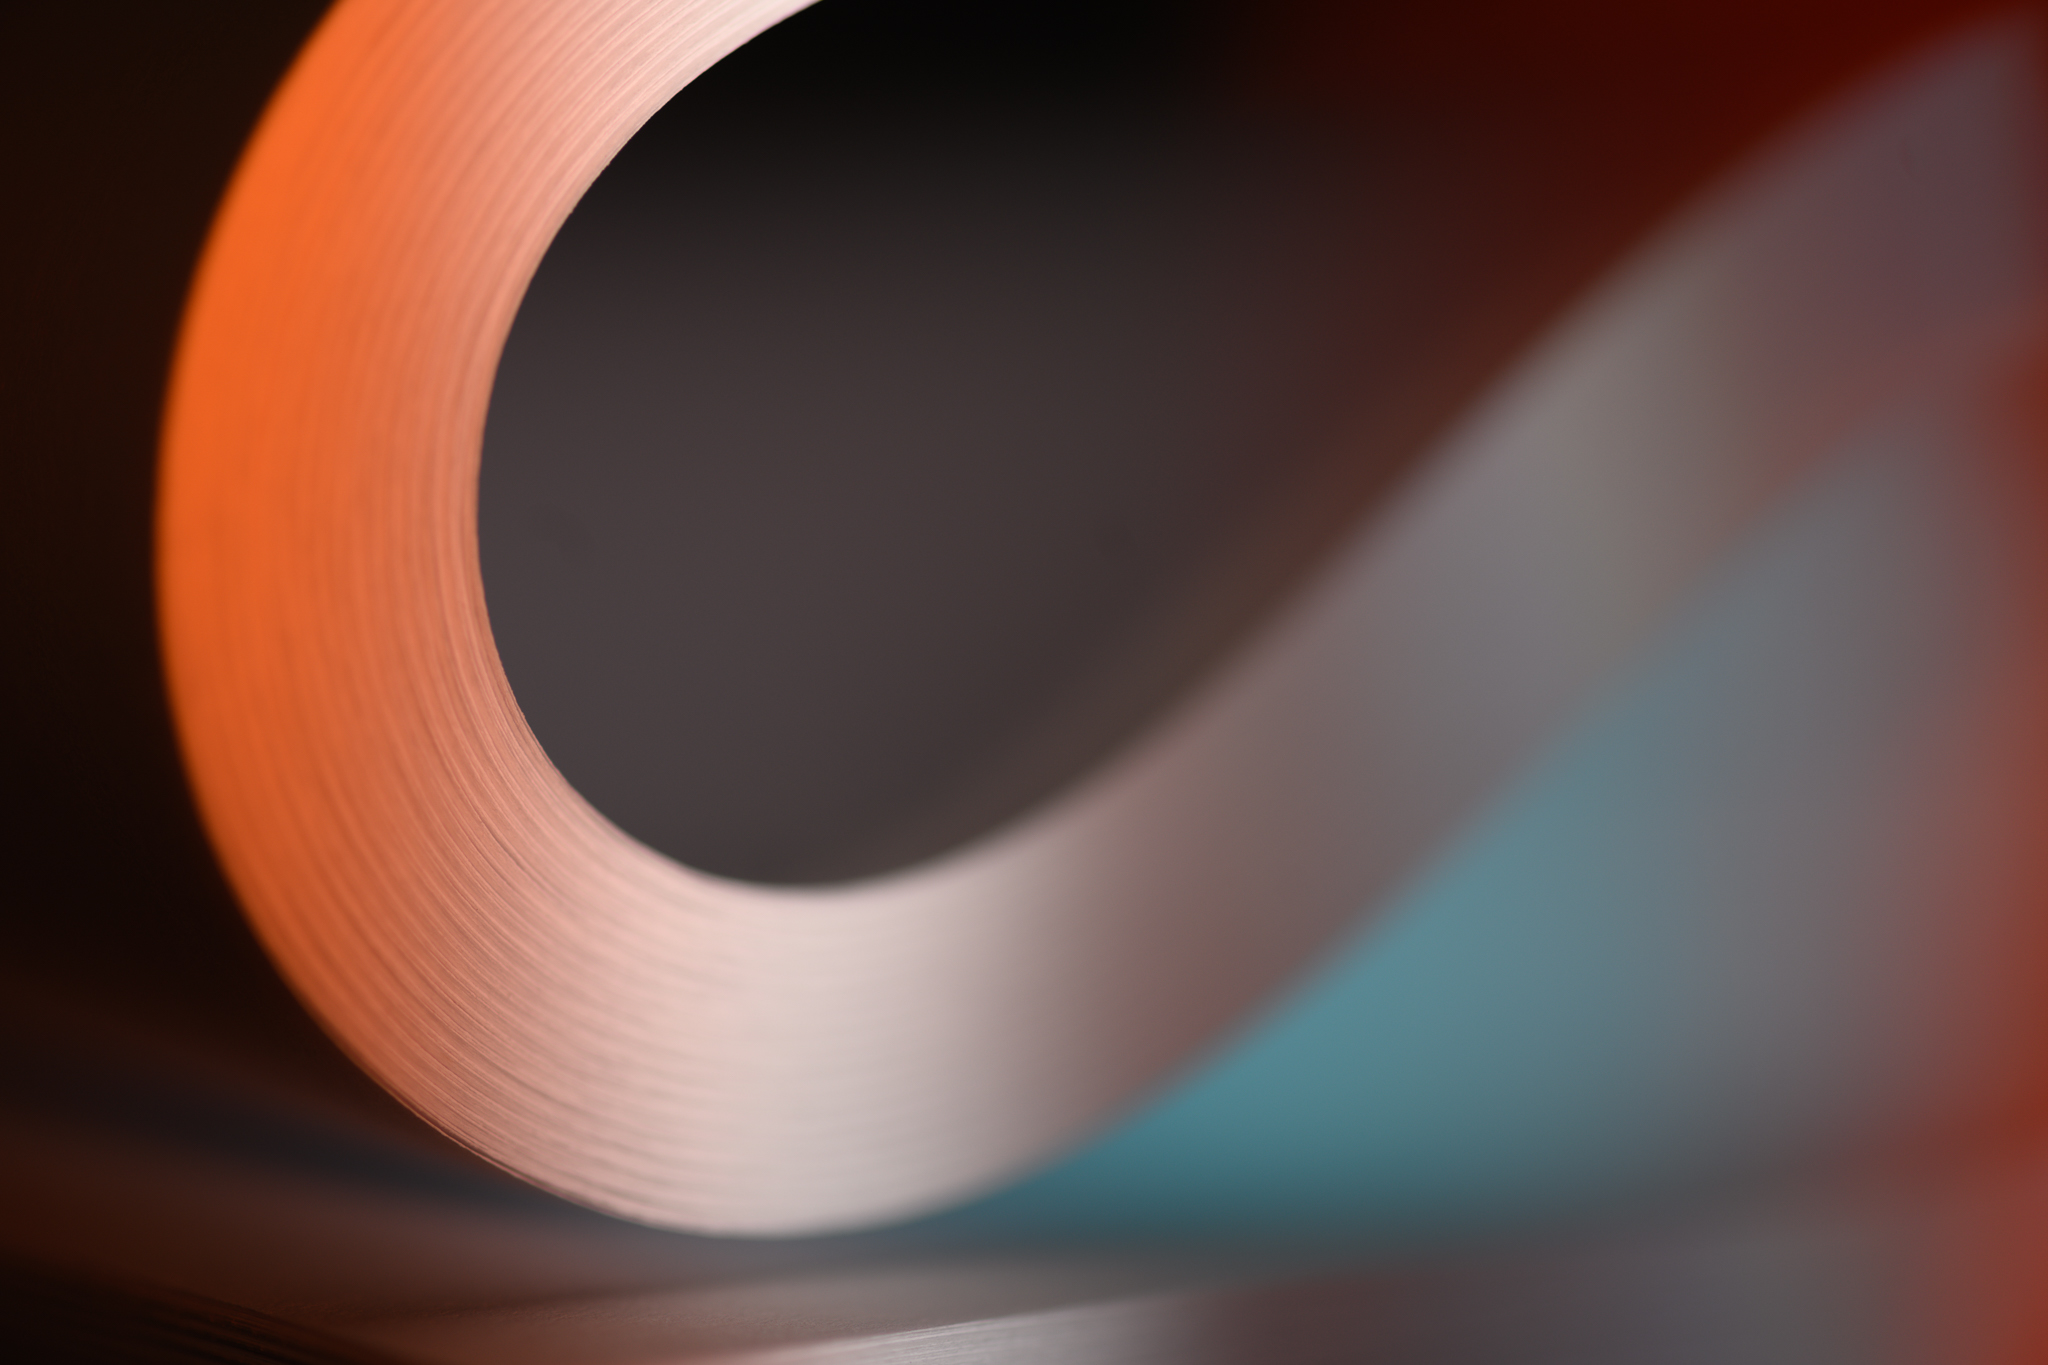
Folded Paper
Depending on your lighting setup, you can get some great close-up shots of ordinary printer paper. Set your camera on a timer, use the rear LCD for composition, and fold/curl it into some different shapes.
Dropping Objects into Water
Another water one! This time, if you have a large vase or empty aquarium tank – something with a large side made of glass – you can try capturing objects underwater directly after dropping them. It’s the inverse of water droplet photography.
Otherworldly Sponge
It sounds like something out of a sci-fi novel, but you can also photograph a sponge to look like it’s the surface of another planet. Experiment with sidelighting, backlighting, and long exposures (to light paint the sponge in different ways), and you’ll be surprised what interesting results you can get. This just goes to show that any subject can work for photography with a bit of thinking outside the box.
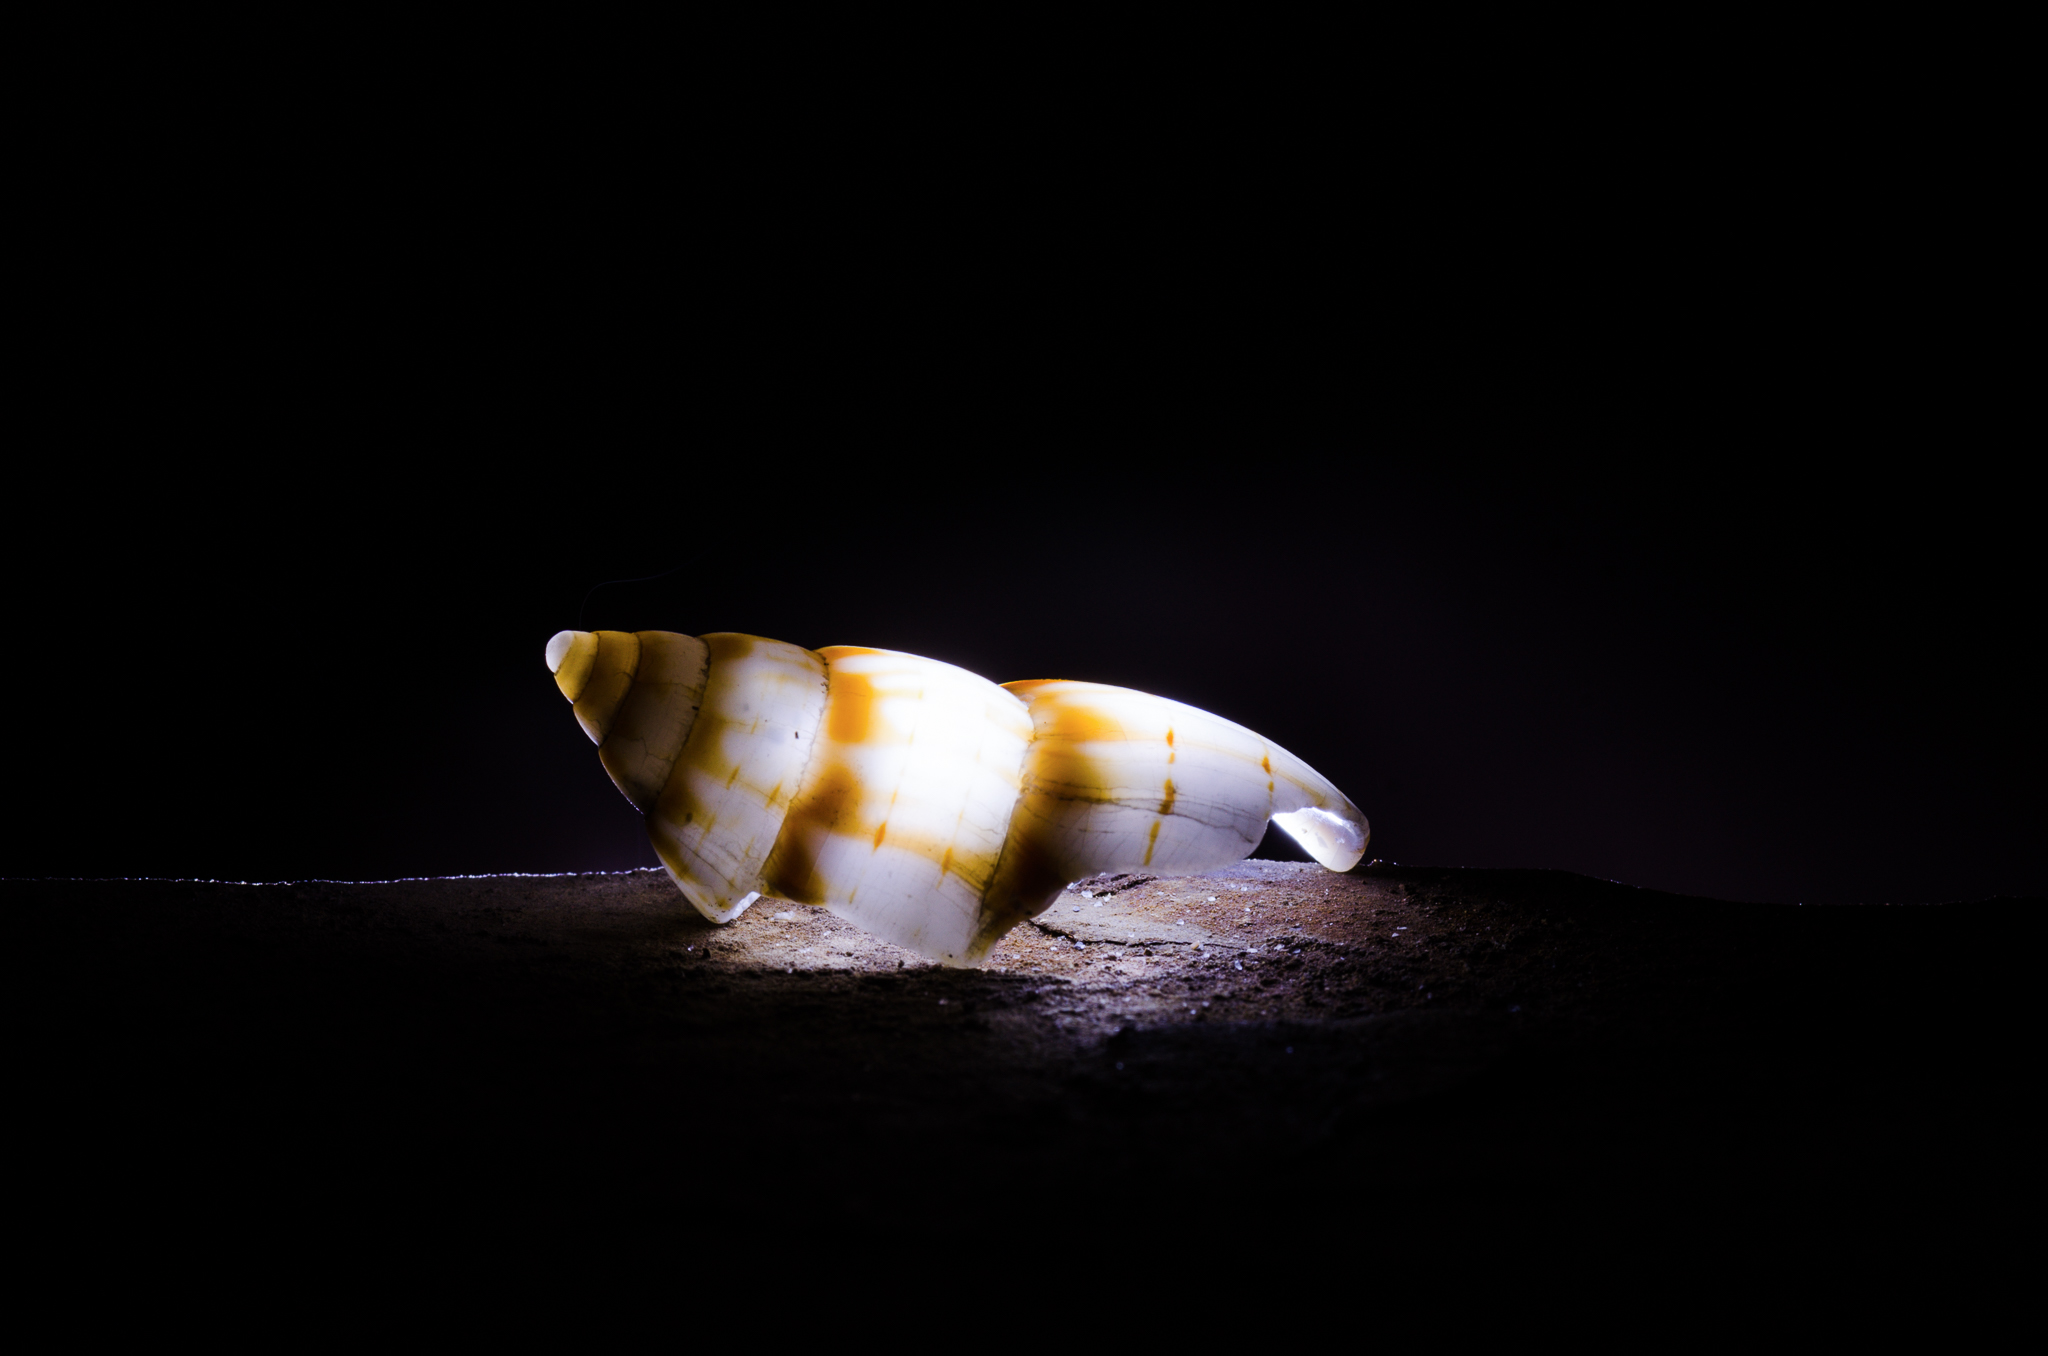
Fabric, Shells, and More
My last recommendation is to look around your home and try to see things with a “macro eye.” You can take good photos of all sorts of odd subjects, and the ideas in this article only scratch the surface.

Conclusion
Hopefully this article gave you some ideas and inspiration for your own photography! It’s always good to exercise our photography muscles even when we’re staying indoors, and the subjects here are a great place to start.
I also want to emphasize that you don’t actually need a macro lens or any special equipment to photograph any of these subjects (other than perhaps the water droplet photography, which is much easier with a flash). All you need is some creative thinking and flexibility. I’ve seen outstanding photos of everything from rocks to silverware, all done in the comfort of the photographer’s home. So, set up your camera, look for some interesting subjects, and have fun.
[ad_2]
Source link


")


